3.4. Bulk Upload
To onboard multiple assets in bulk:
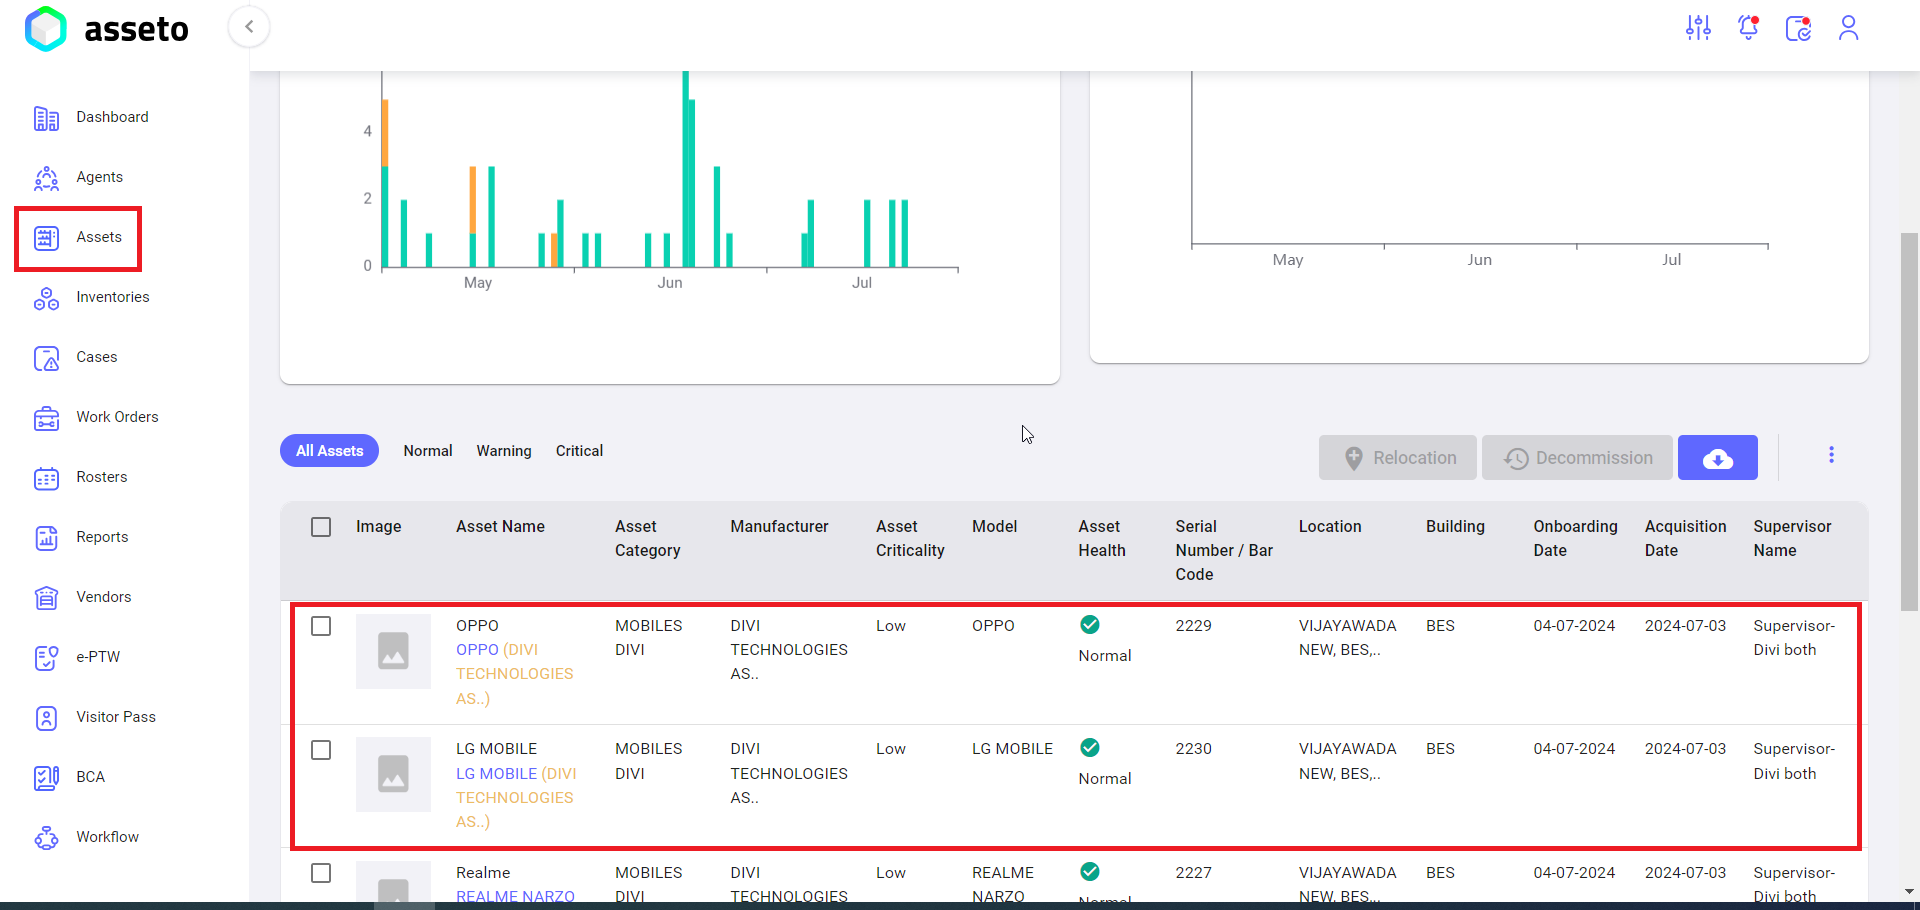
Left panel -> Assets -> Bulk Upload:
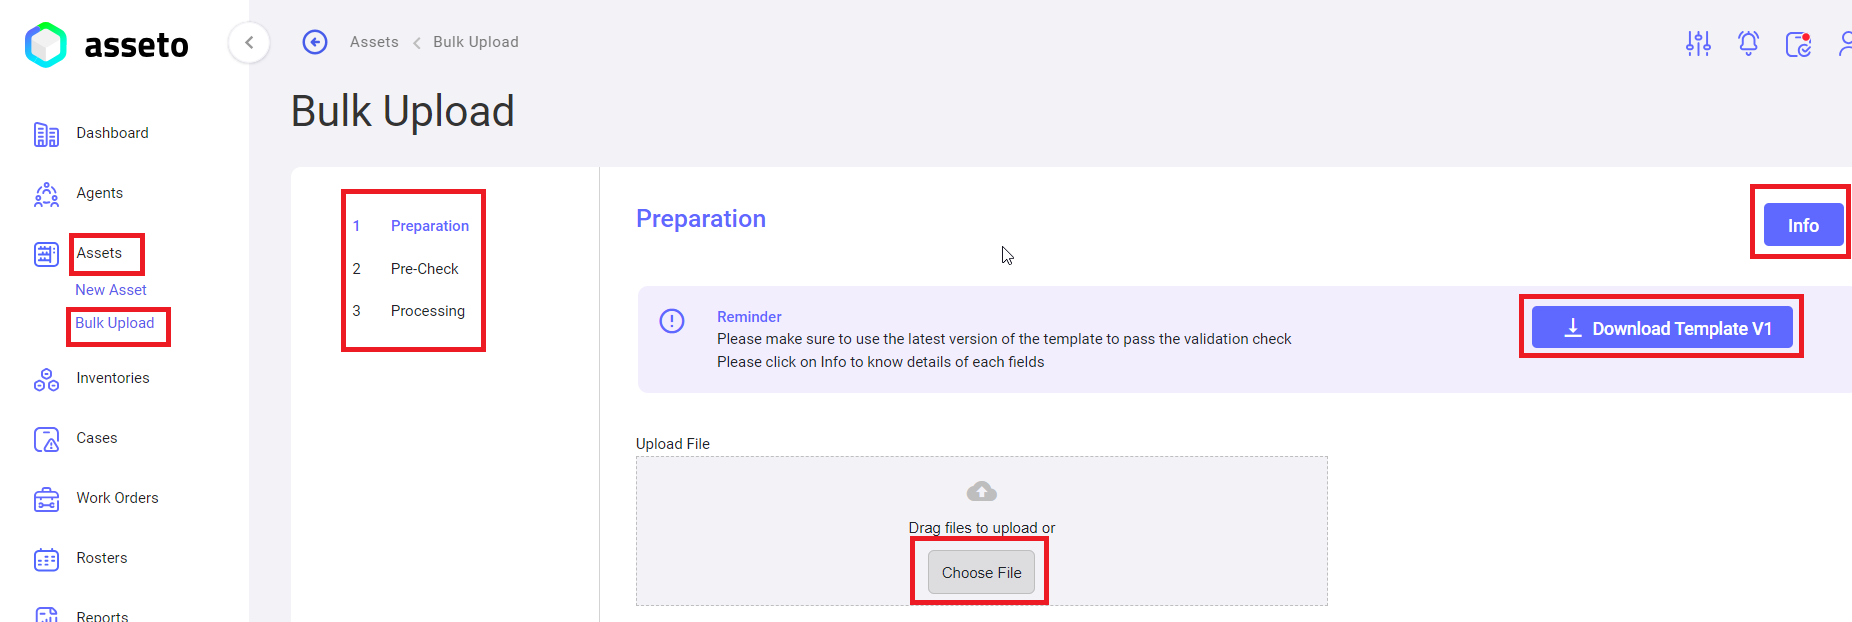
The Bulk Upload process consists of three sections:
- Preparation: Download the bulk upload template by clicking the "Download Template" button.
- Pre-check: Check for any errors in the uploaded sheet.
- Processing: View the progress of the bulk upload process.
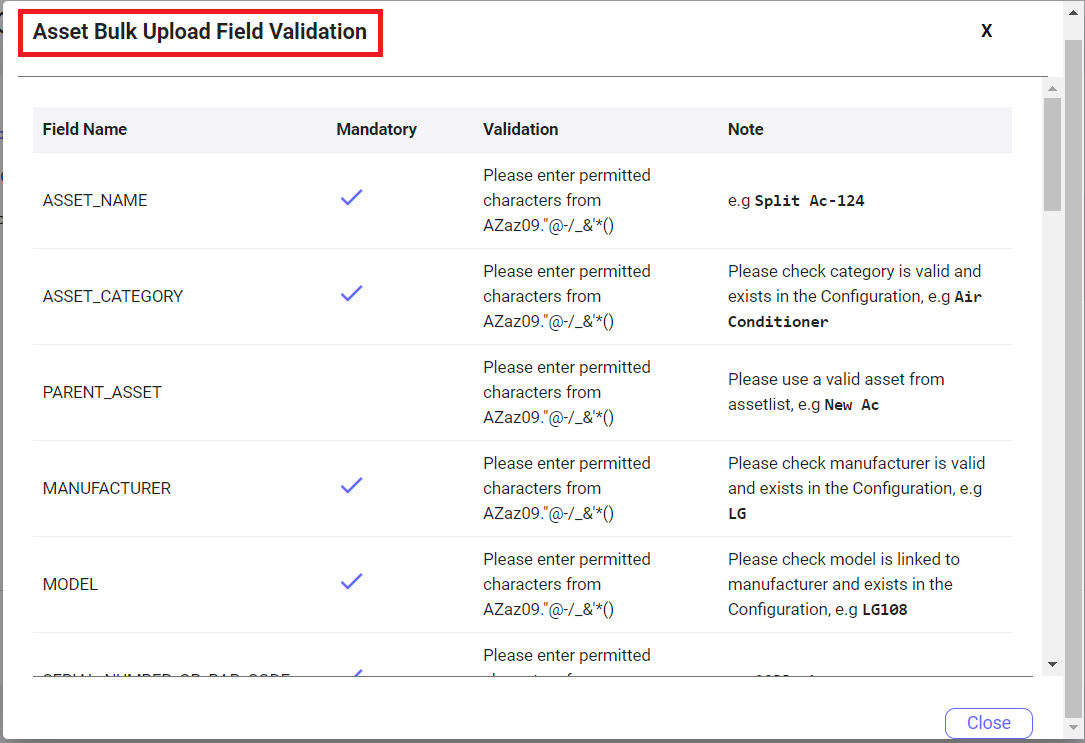
Click on the "Info" button to display field validation rules (as shown in the following screenshot). Follow these rules to fill in the data in the CSV file accordingly.
1. Preparation: Click the "Download Template" button to download the CSV file, which will be saved in your local PC's Downloads folder, as shown in the following screenshot.

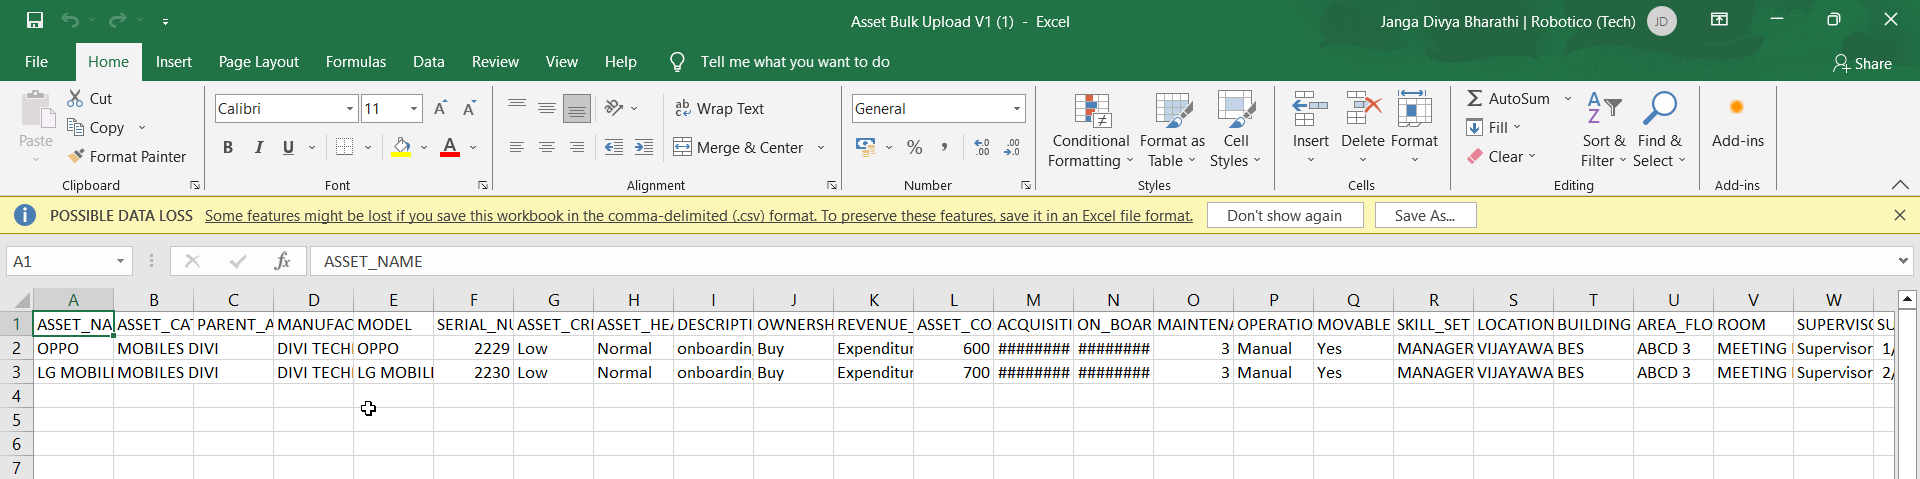
Fill in the data on the downloaded CSV file for all assets to be onboarded using bulk upload.
Upload the file by clicking the "Choose File" button.
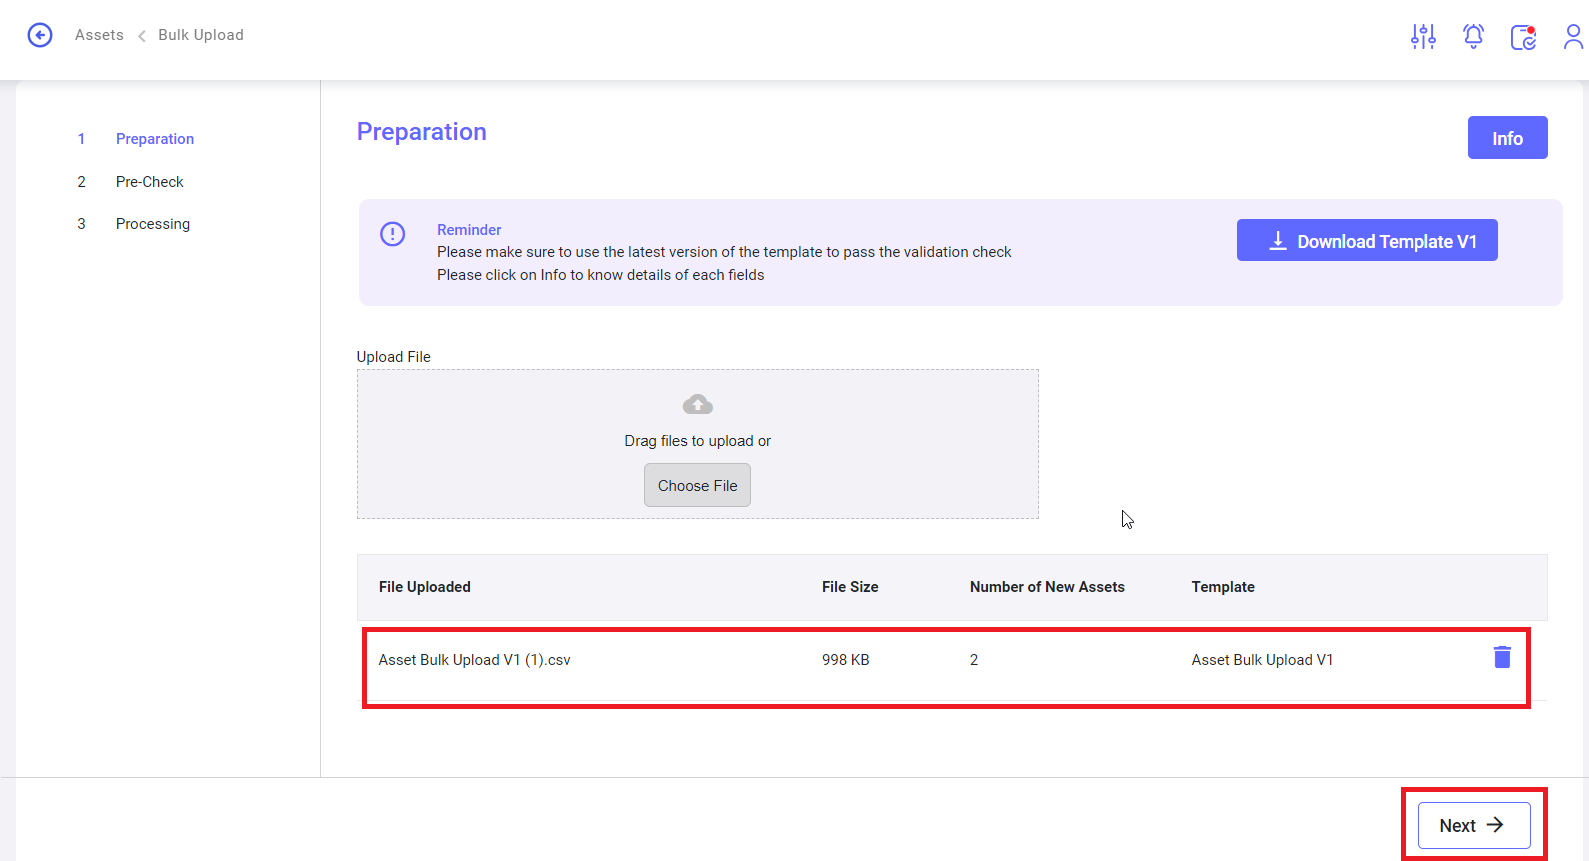
After uploading the CSV file, the 'Next' button will be enabled. Click the 'Next' button to navigate to the validation check page.
2. Precheck/Validation Check: If the uploaded file contains any errors, they will be displayed here. The user will not be able to proceed to the next stage until these errors are corrected. The "Submit" button will be enabled (as shown in the screenshot below) if there are no errors in the CSV file.
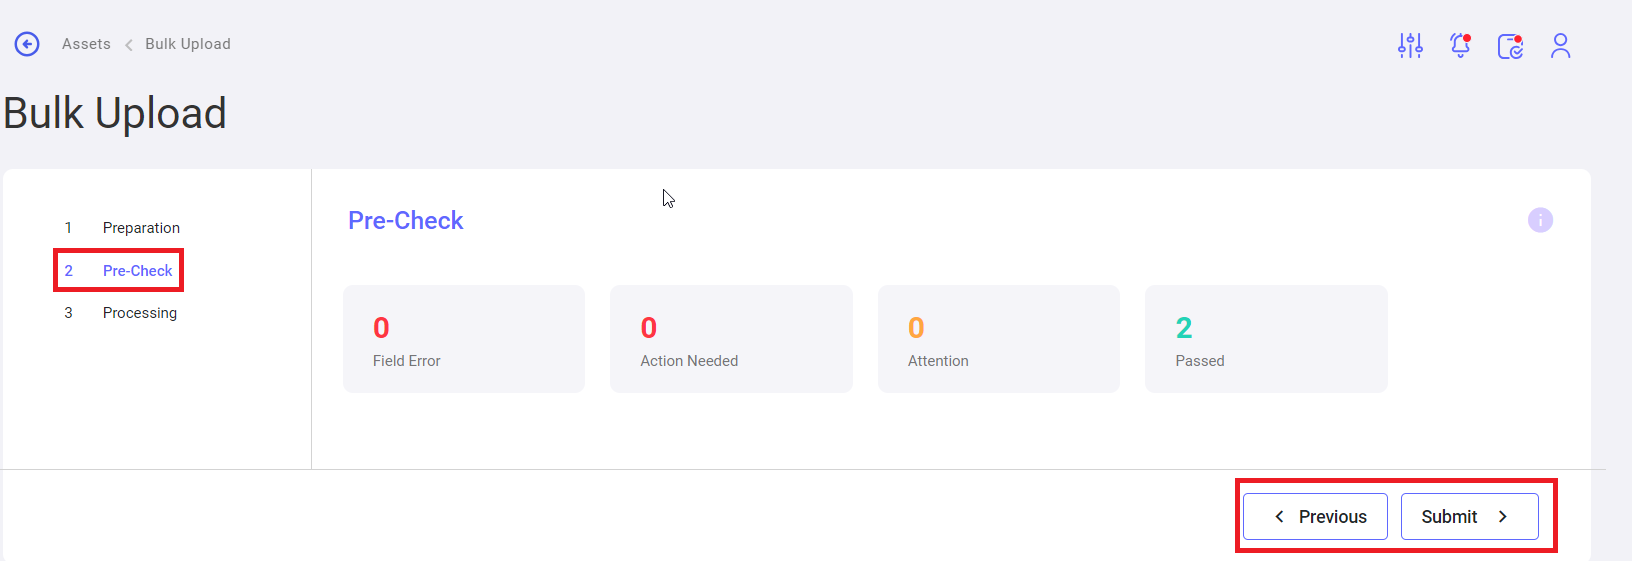
Note: Check the tooltip to view the validation status on the validation/pre-check page.
Clicking the "Submit" button will navigate you to the next page.
3. Processing: The user can view the progress of the bulk upload process. A confirmation message will be displayed indicating that the assets have been created successfully.
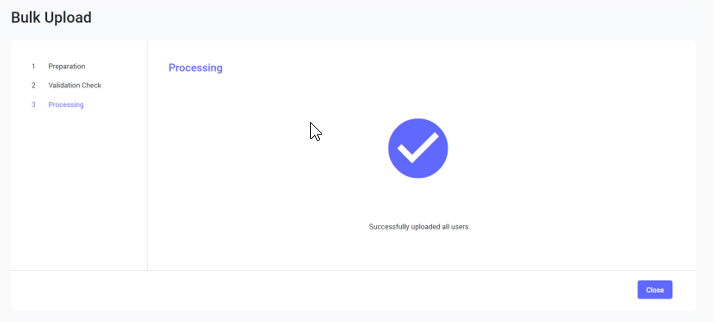
Click on "Close." The uploaded assets will be displayed on the assets list page, as shown in the following screenshot.
No Comments