12.6. BCA Project Detail View Page – After Completion of Project
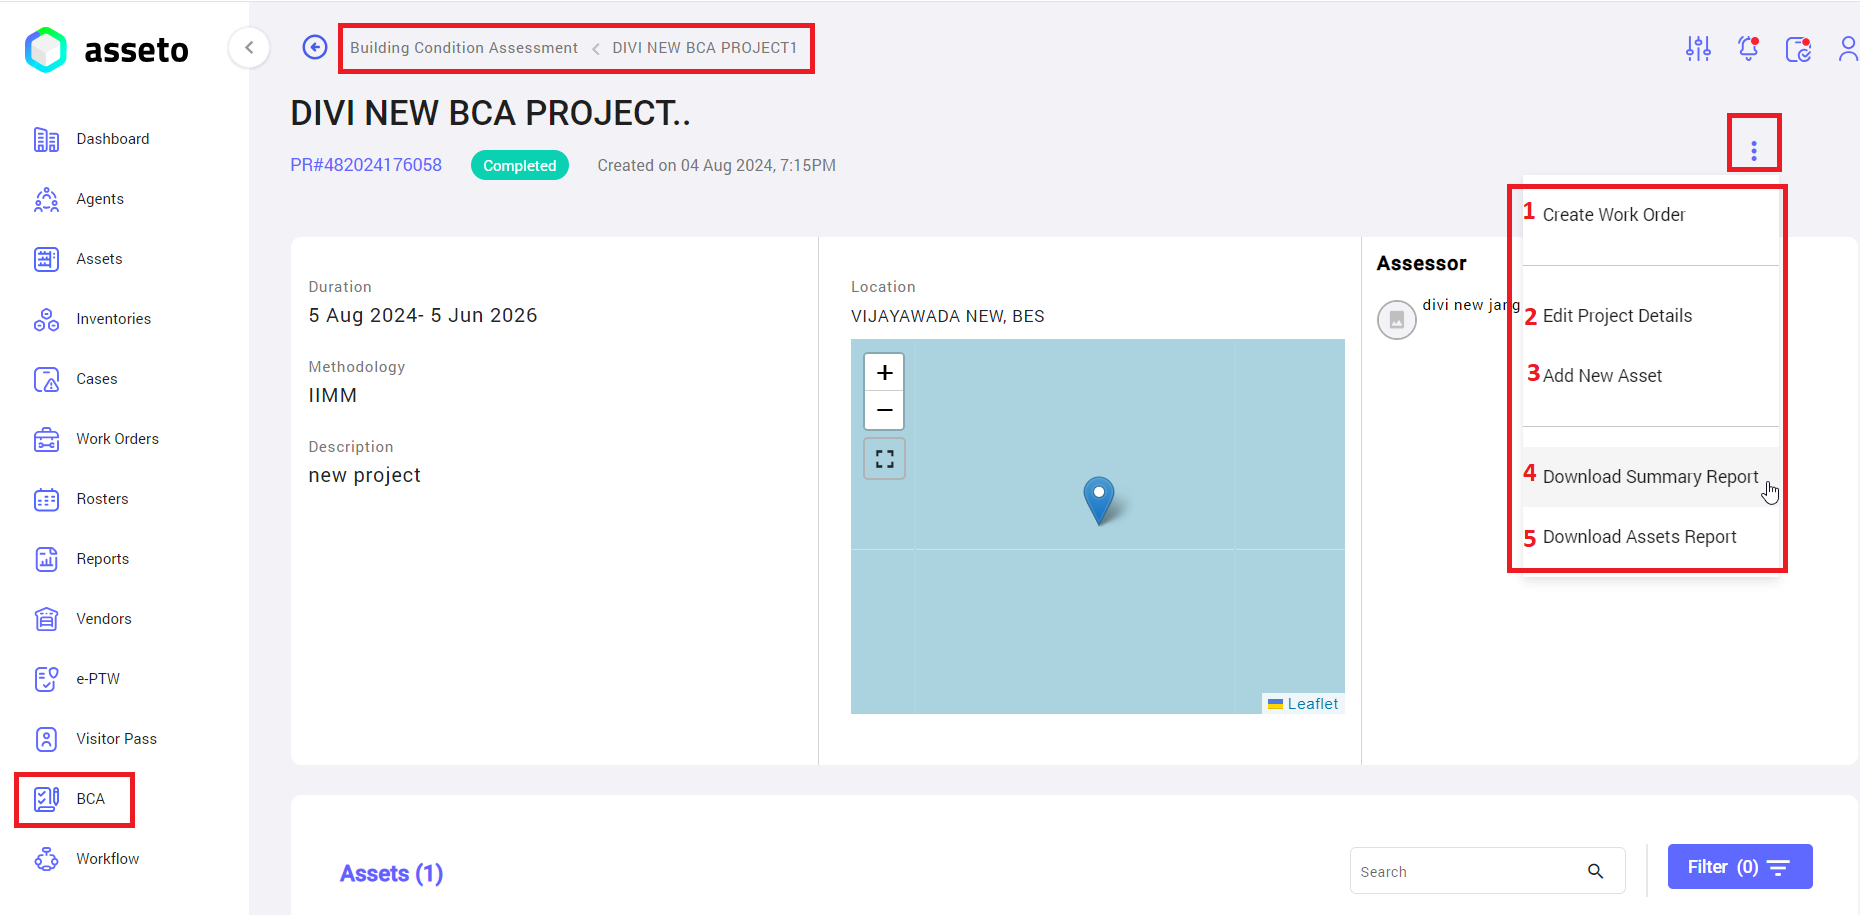
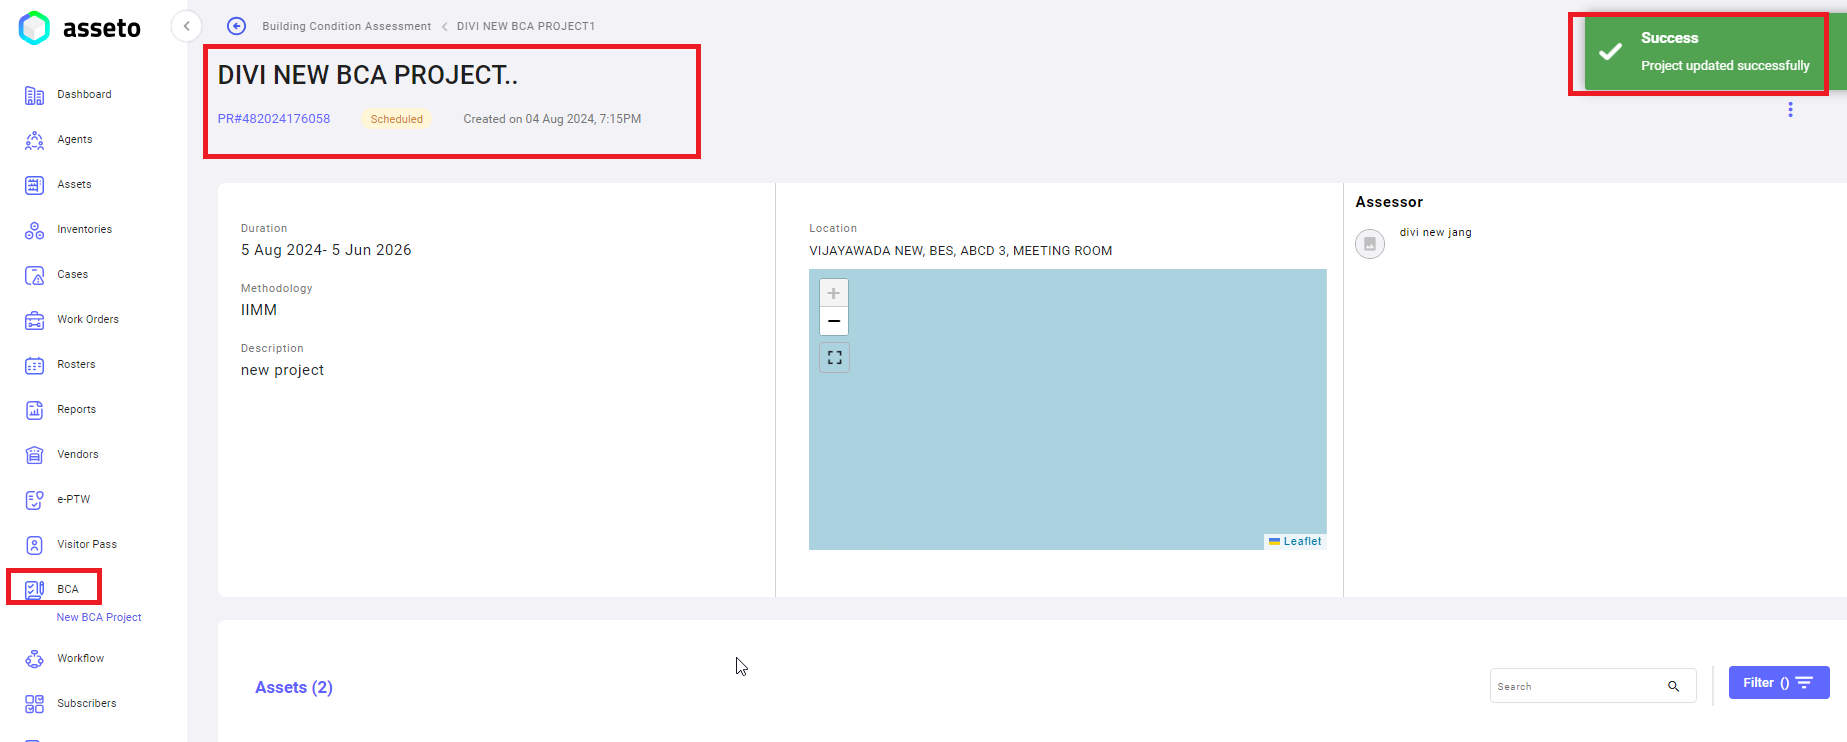
Once supervisor approved this project, In the project ‘details view page’ right corner user can view the “option icon” as shown by following screenshot and having following options.
- Create Work Order: When a defect occurs with asset, a work order can be created using this feature.
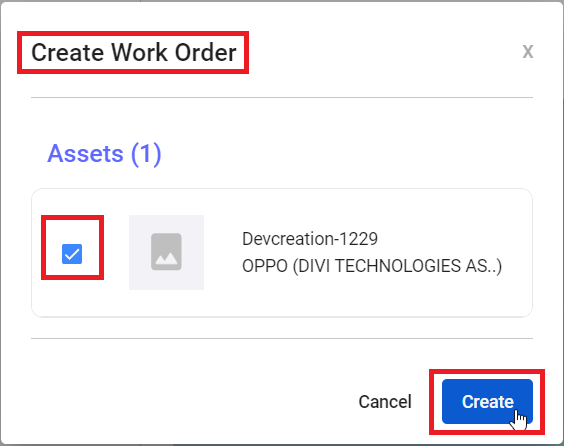
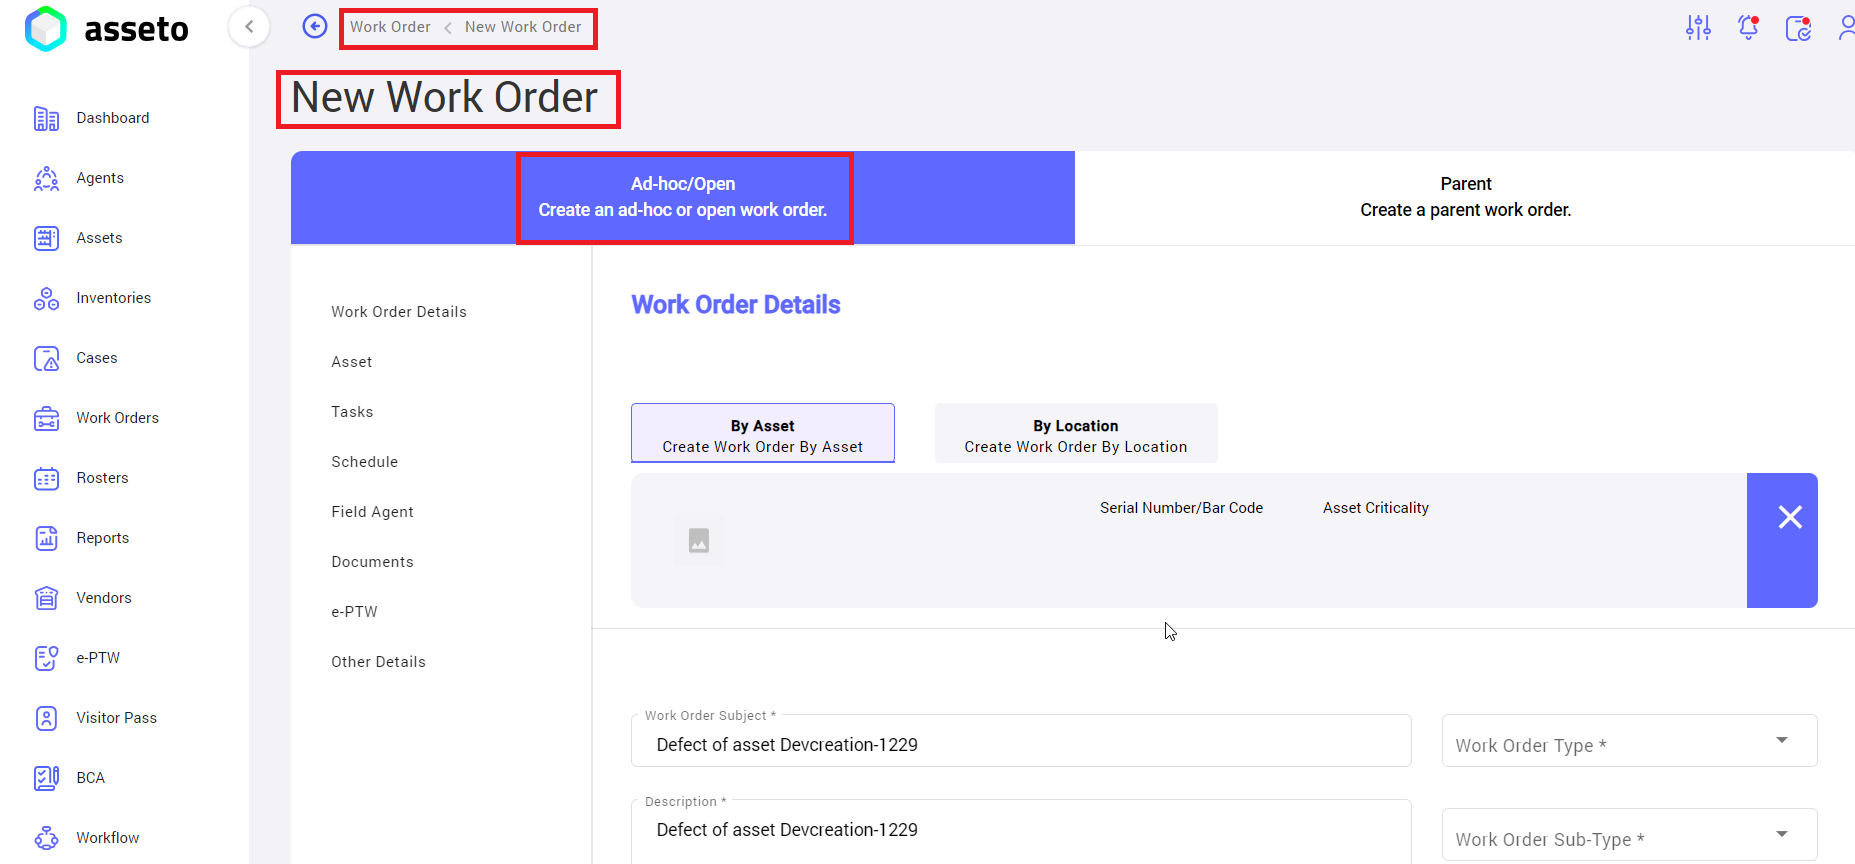
Select asset and click on “create” button the screen will be navigated to work order create page.
Fill in the all-mandatory fields then click on “save” button; work order will be created for selected asset.
Note: For more details, please refer to the work order module.
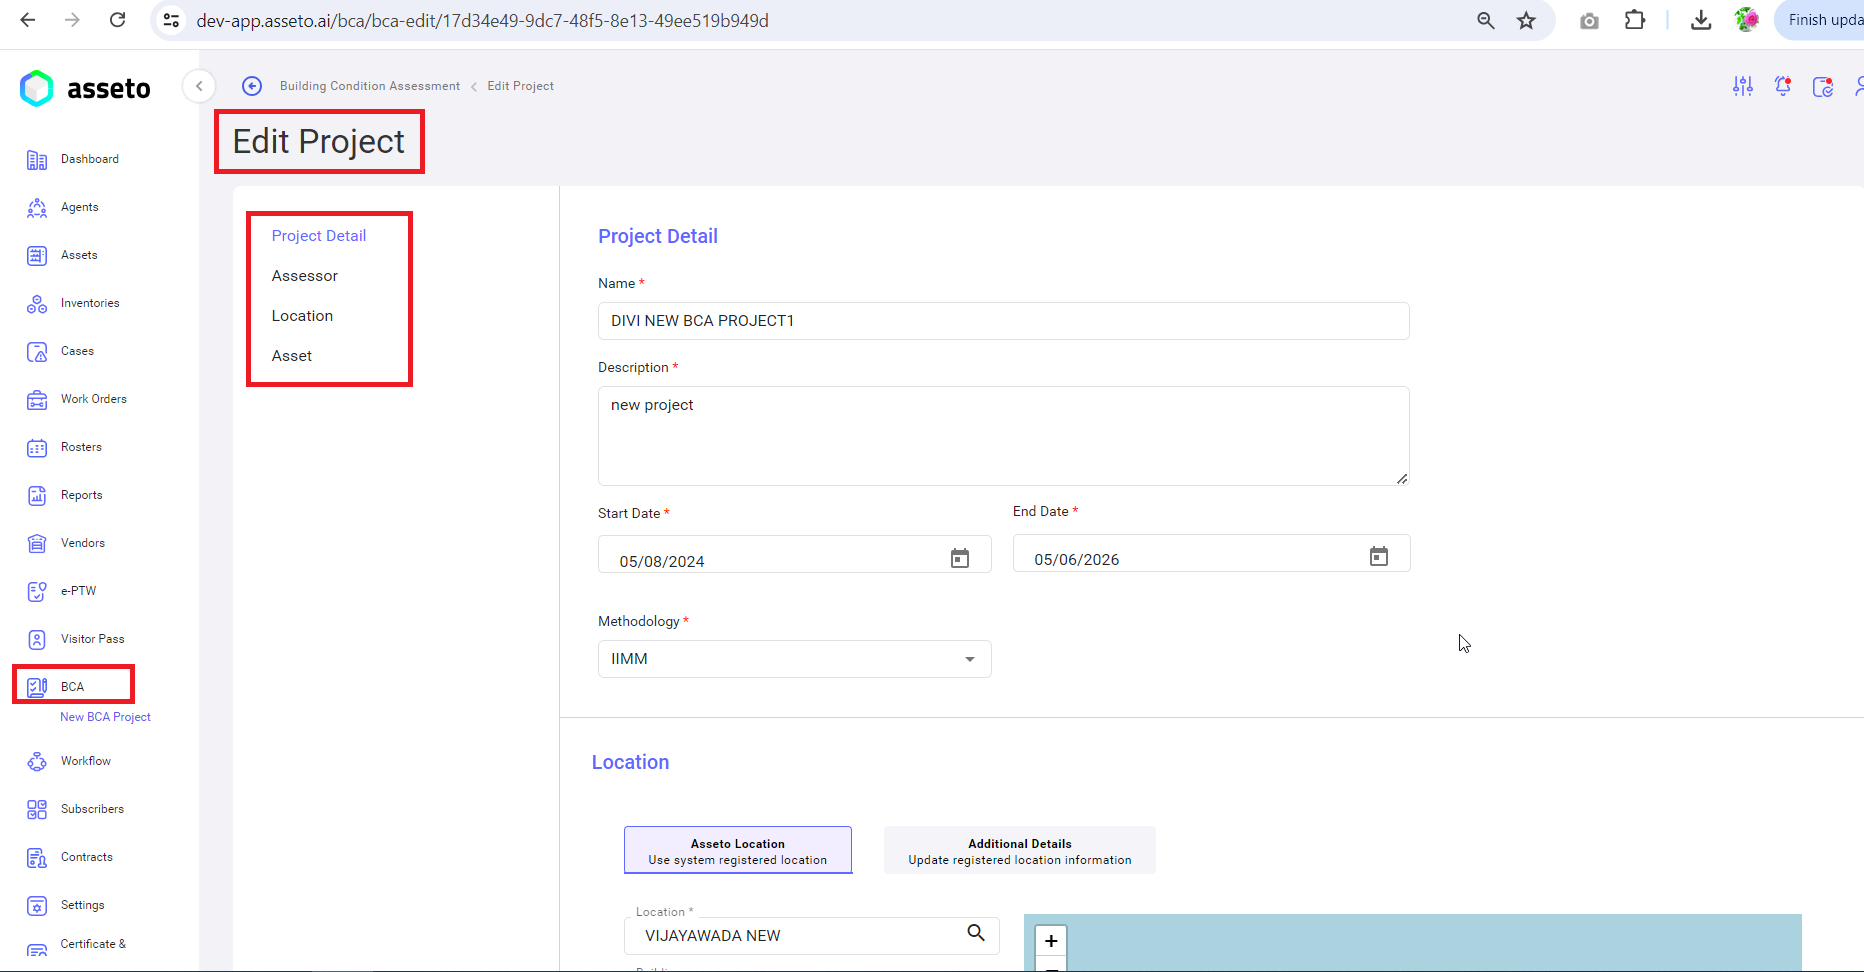
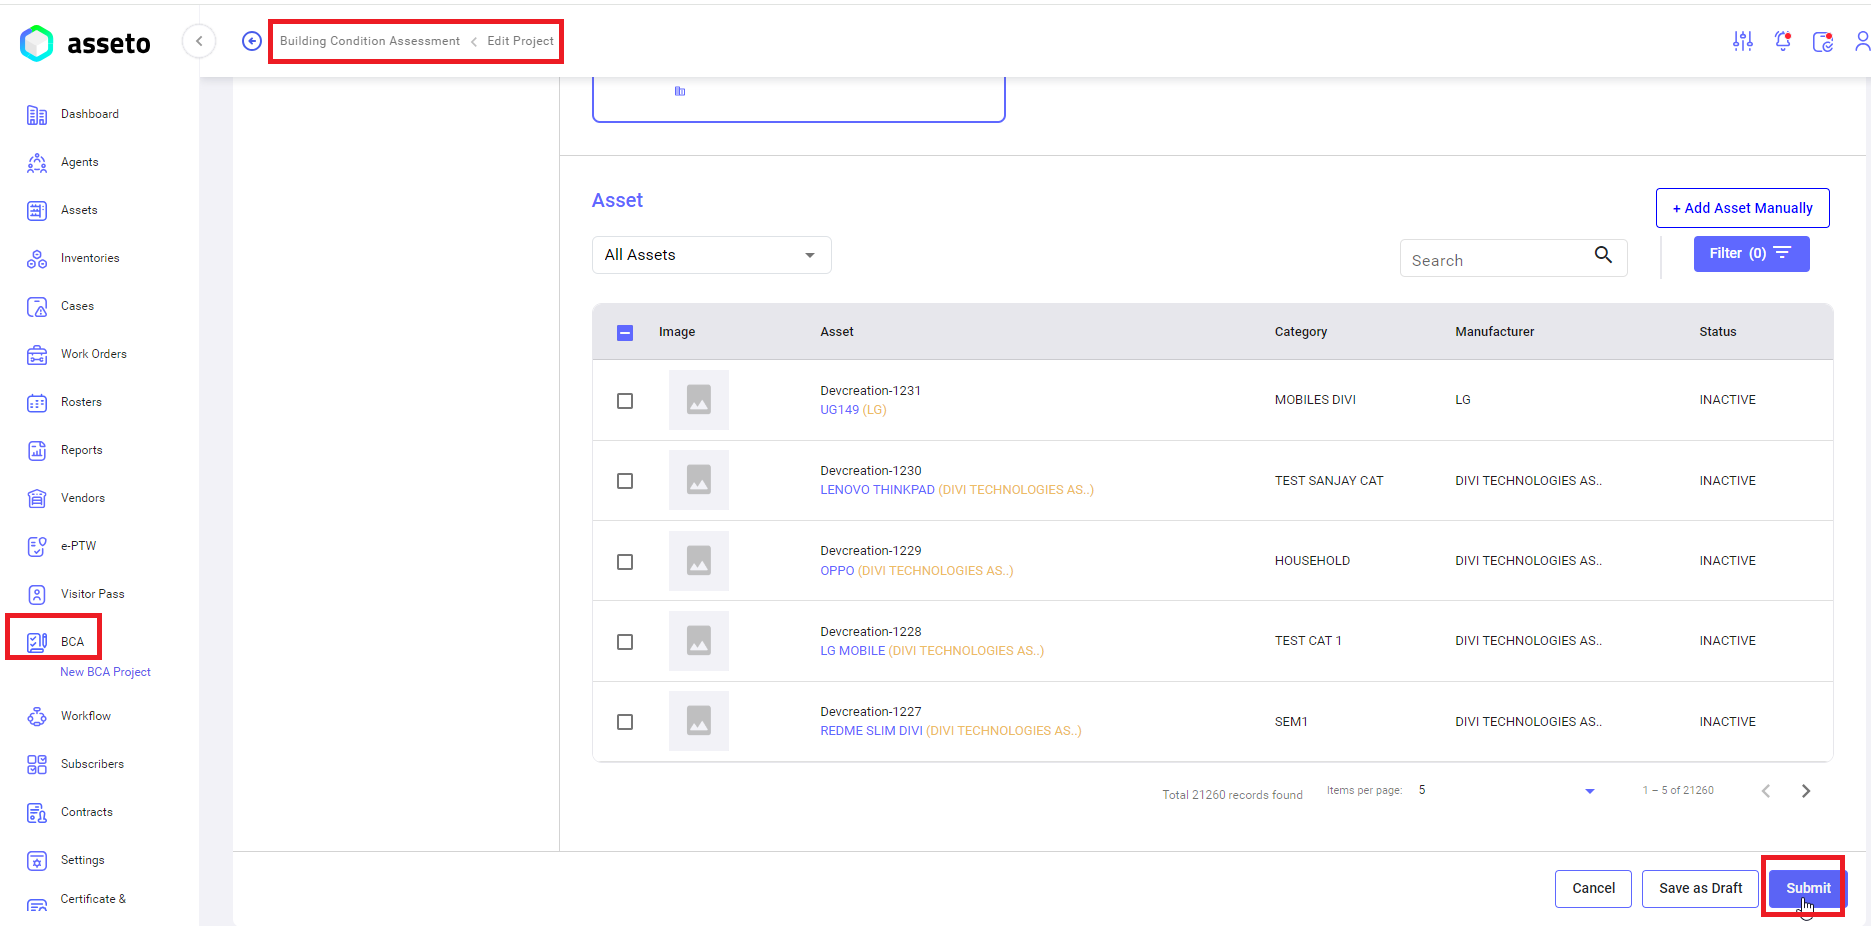
2. Edit project details: To edit the BCA project, click on edit option which is available in project view page system will navigate to edit project page.
Users can edit/update the BCA project details as per needed.
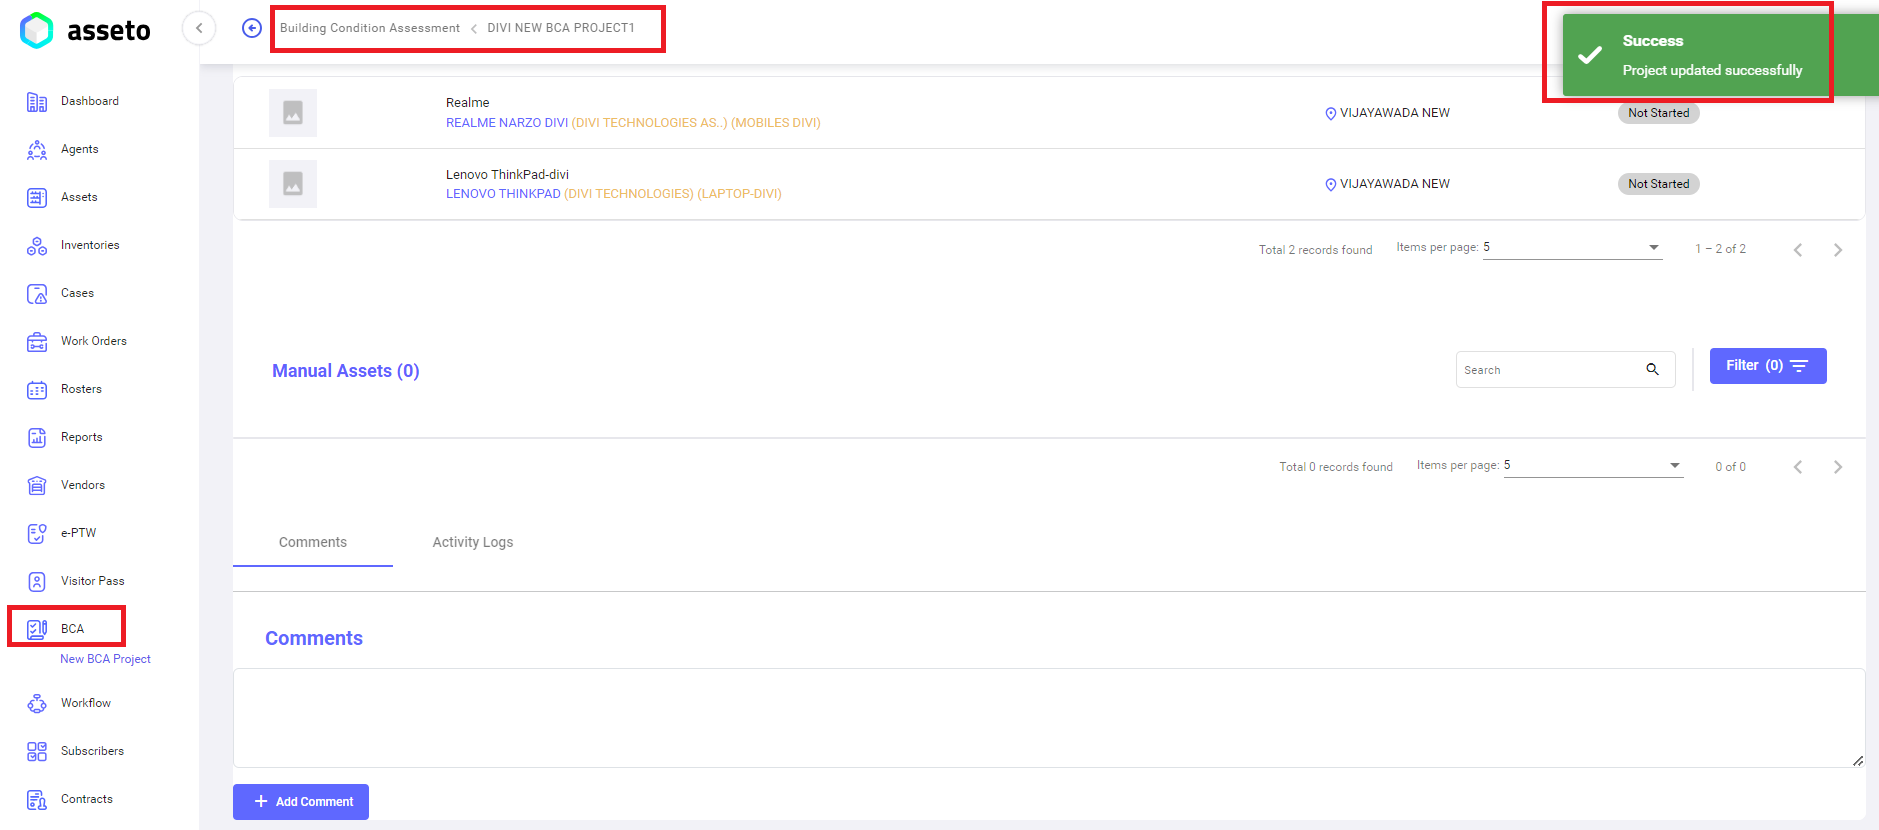
Click on the submit button to save the updated details, confirmation message “project updated successfully” will be display and the system navigate to project detail’s view page.
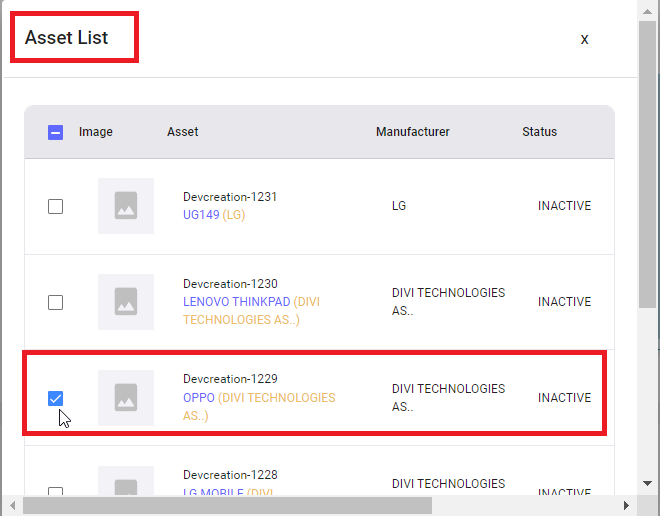
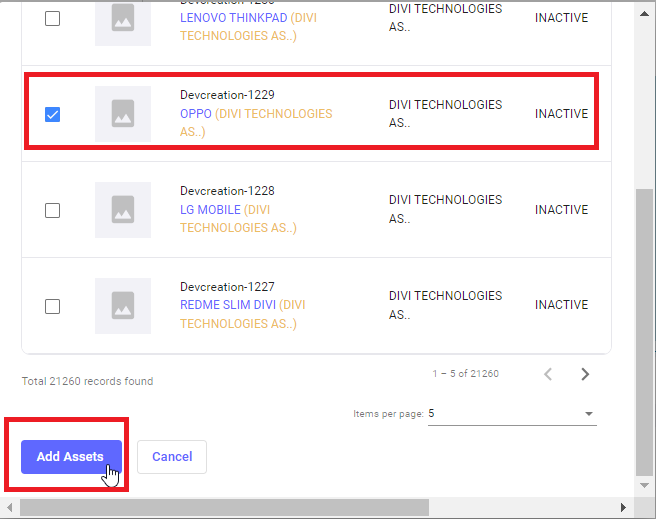
3. Add new asset: To add the asset(s) into this project, when you click on “add new asset” option following screen will be display.
Click on “add asset” button, a confirmation message “project updated successfully” will be display and system will navigate to project view page.
Added assets will be displayed in the assets section.
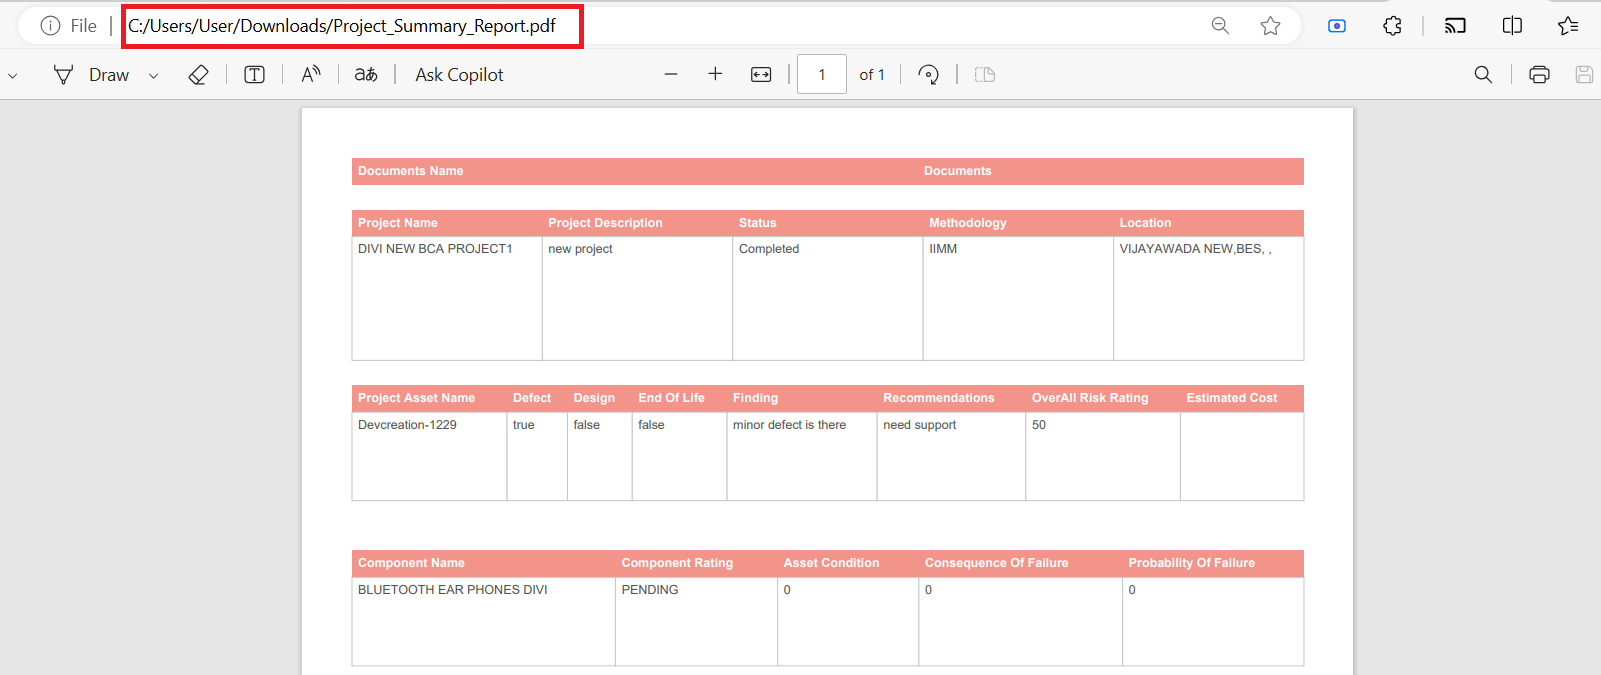
4. Download Summary Report: To download the asset summary report, click on this option. The report will be downloaded to your local downloads.
Next
Downloaded Summary report as shown by following screenshot.
5. Download Asset Report: to download the asset report, click on this option. The asset report will be downloaded to your local downloads folder as shown by following screenshot.
Click on folder name to view the asset report details as shown by following screenshot.
12.6.1. Work flow for multiple assessors were assigned to one project
Step1: After the project is created, all selected assessors will be notified about it. They must have the Asseto mobile app installed and logged in. Once in the app BCA tab, assessors can view the project statuses, including how many are scheduled, in progress, pending approval, or completed.
Step2: All assessors can view the project location and details, with the option to accept or reject the project. Only one assessor will accept the project by clicking the "Accept" button.
Note: The remaining workflow will follow the same procedure as outlined above (step3 & step4).




No Comments