2. Agents
This module enables users to onboard new agents.
The Agents module includes the following features:
- New Agent
- Bulk Upload
- 2.1 Agents Dashboard
- 2.2 Pre-Requisites For Agent Onboarding
- 2.3. New Agent
- 2.4. Agent Login Procedure
- 2.5. Forgot Password
- 2.6. Bulk Upload
- 2.7. Agent Detail View
- 2.8. Agent Edit
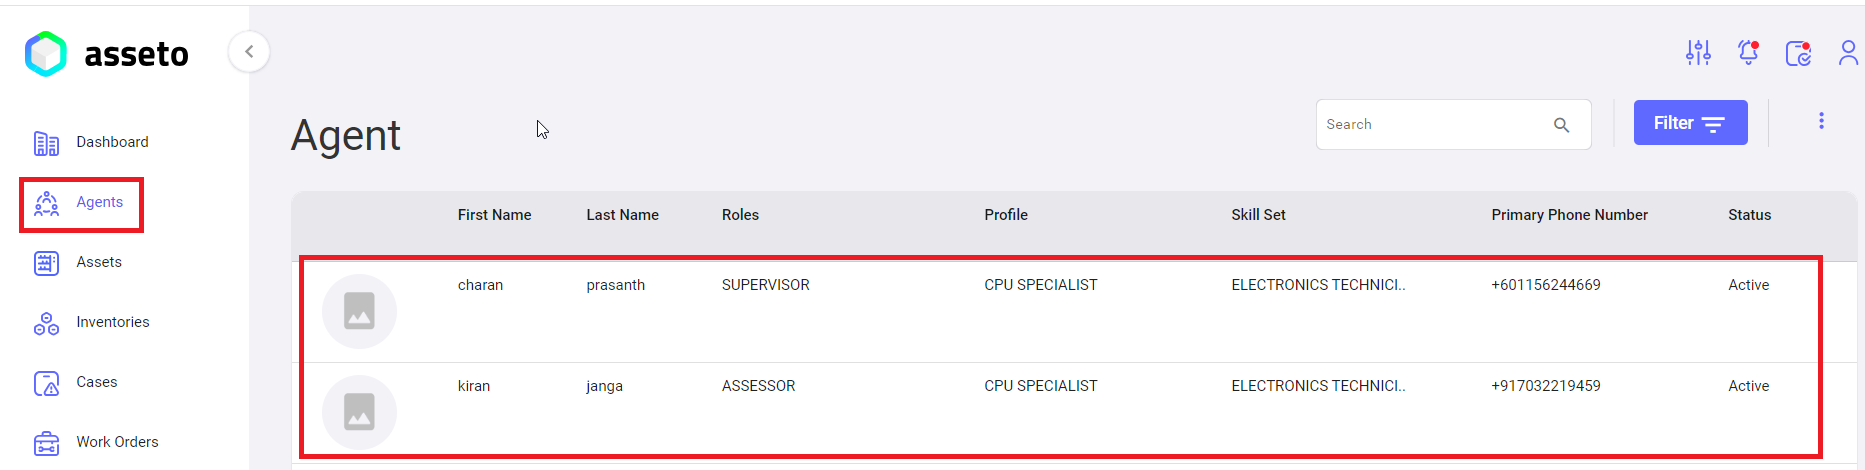
2.1 Agents Dashboard
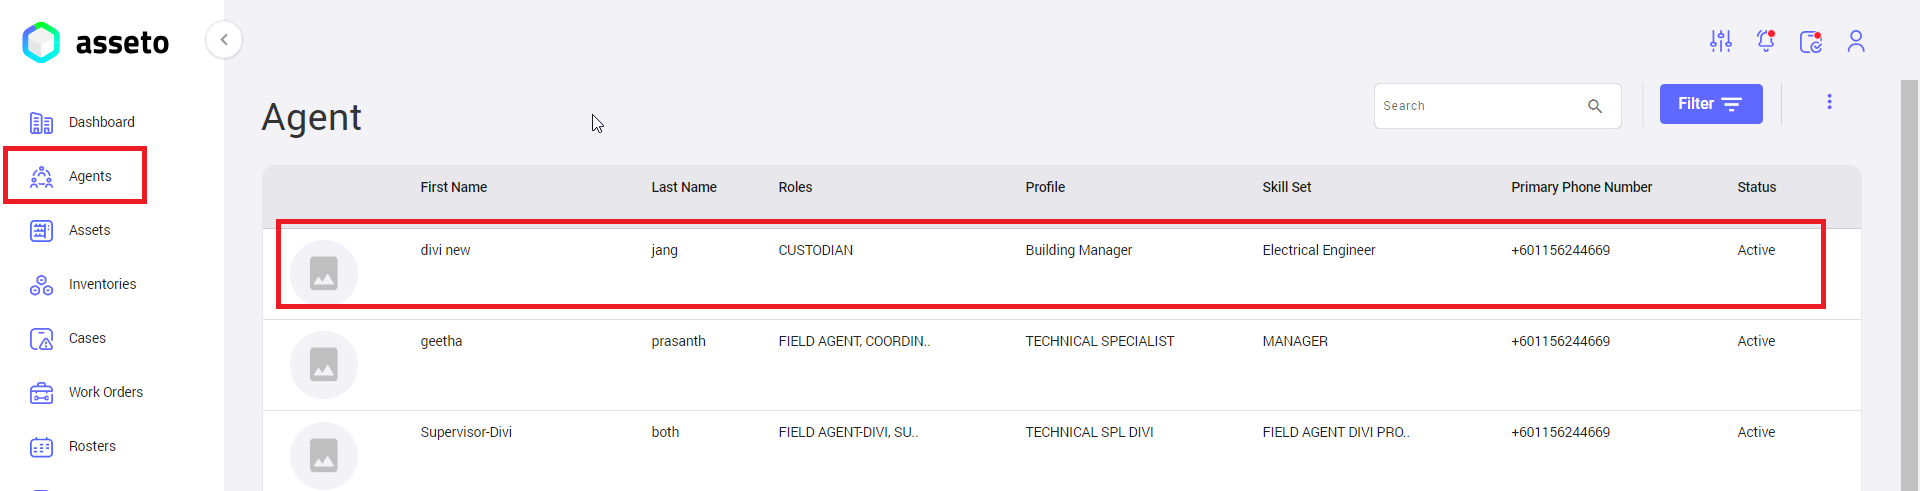
Here, the user can view the list of agents, as shown in the following screenshot.
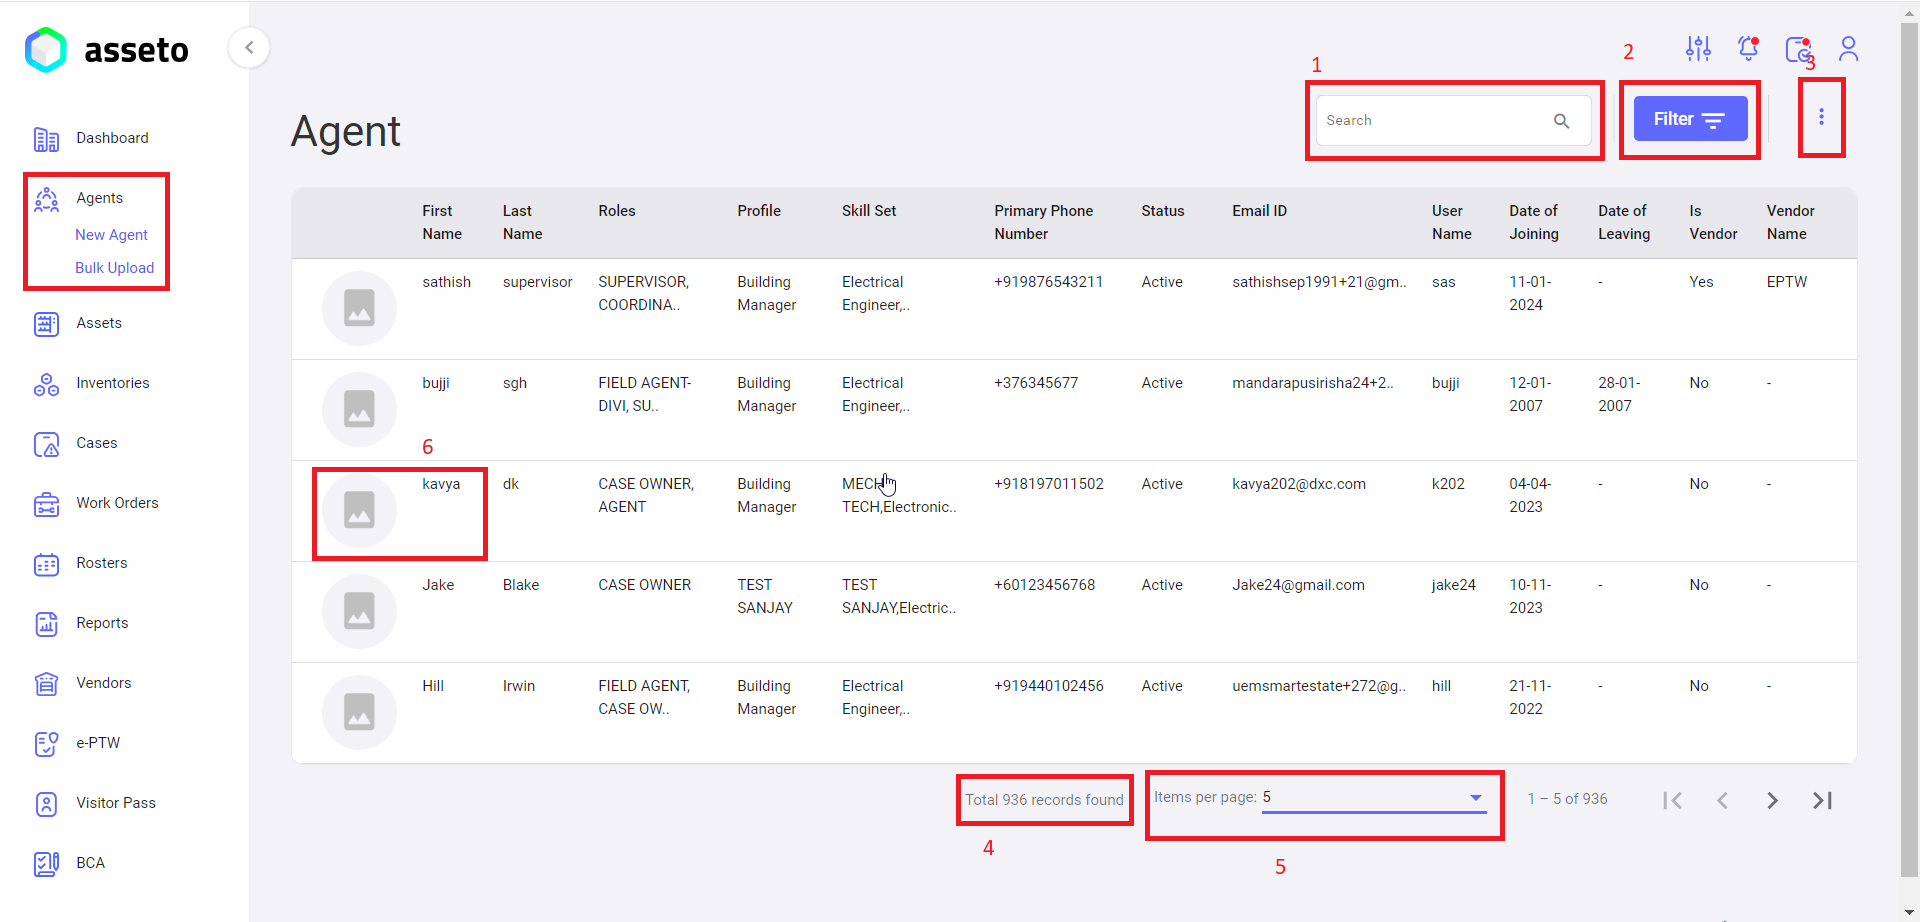
Agents dashboard has the following features.
1. Search
User can search for any specific agent with their names.
2. Filter
By using this feature, the user can refine the search by selecting a filter option (such as username, role, profile, status, etc.), choosing the appropriate option from the displayed list, and clicking on the 'Add' button. Afterward, click the 'Apply' button, as shown in the screenshot below. The filtered results will then be displayed in the agents list.

3. Customize table view
User can customize the table by selecting the various columns and click on save button (shown by below screenshot), then the selected columns populate in agents table with the data.

4. Total Records
Total number of agents present in the system displayed in bottom of the agents table.
5. Pagination
A pagination view is displayed next to the total number of records, allowing the user to select pagination options (5, 10, 25, 50, 100) to display the desired number of records in the list.
6. Agent detail view page
User can view and edit the agent details by clicking on agent from the list.
The Agent module has two features:
· New Agent
· Bulk Upload
2.2 Pre-Requisites For Agent Onboarding
To onboard agents, the user must configure roles, skillset, and resource groups in the settings module.
iii. Go to the Agents module and create a new agent with the Supervisor role.
iv. Go to the Vendor module and create a new vendor beforehand.
i. Settings -> Agents -> Profile:
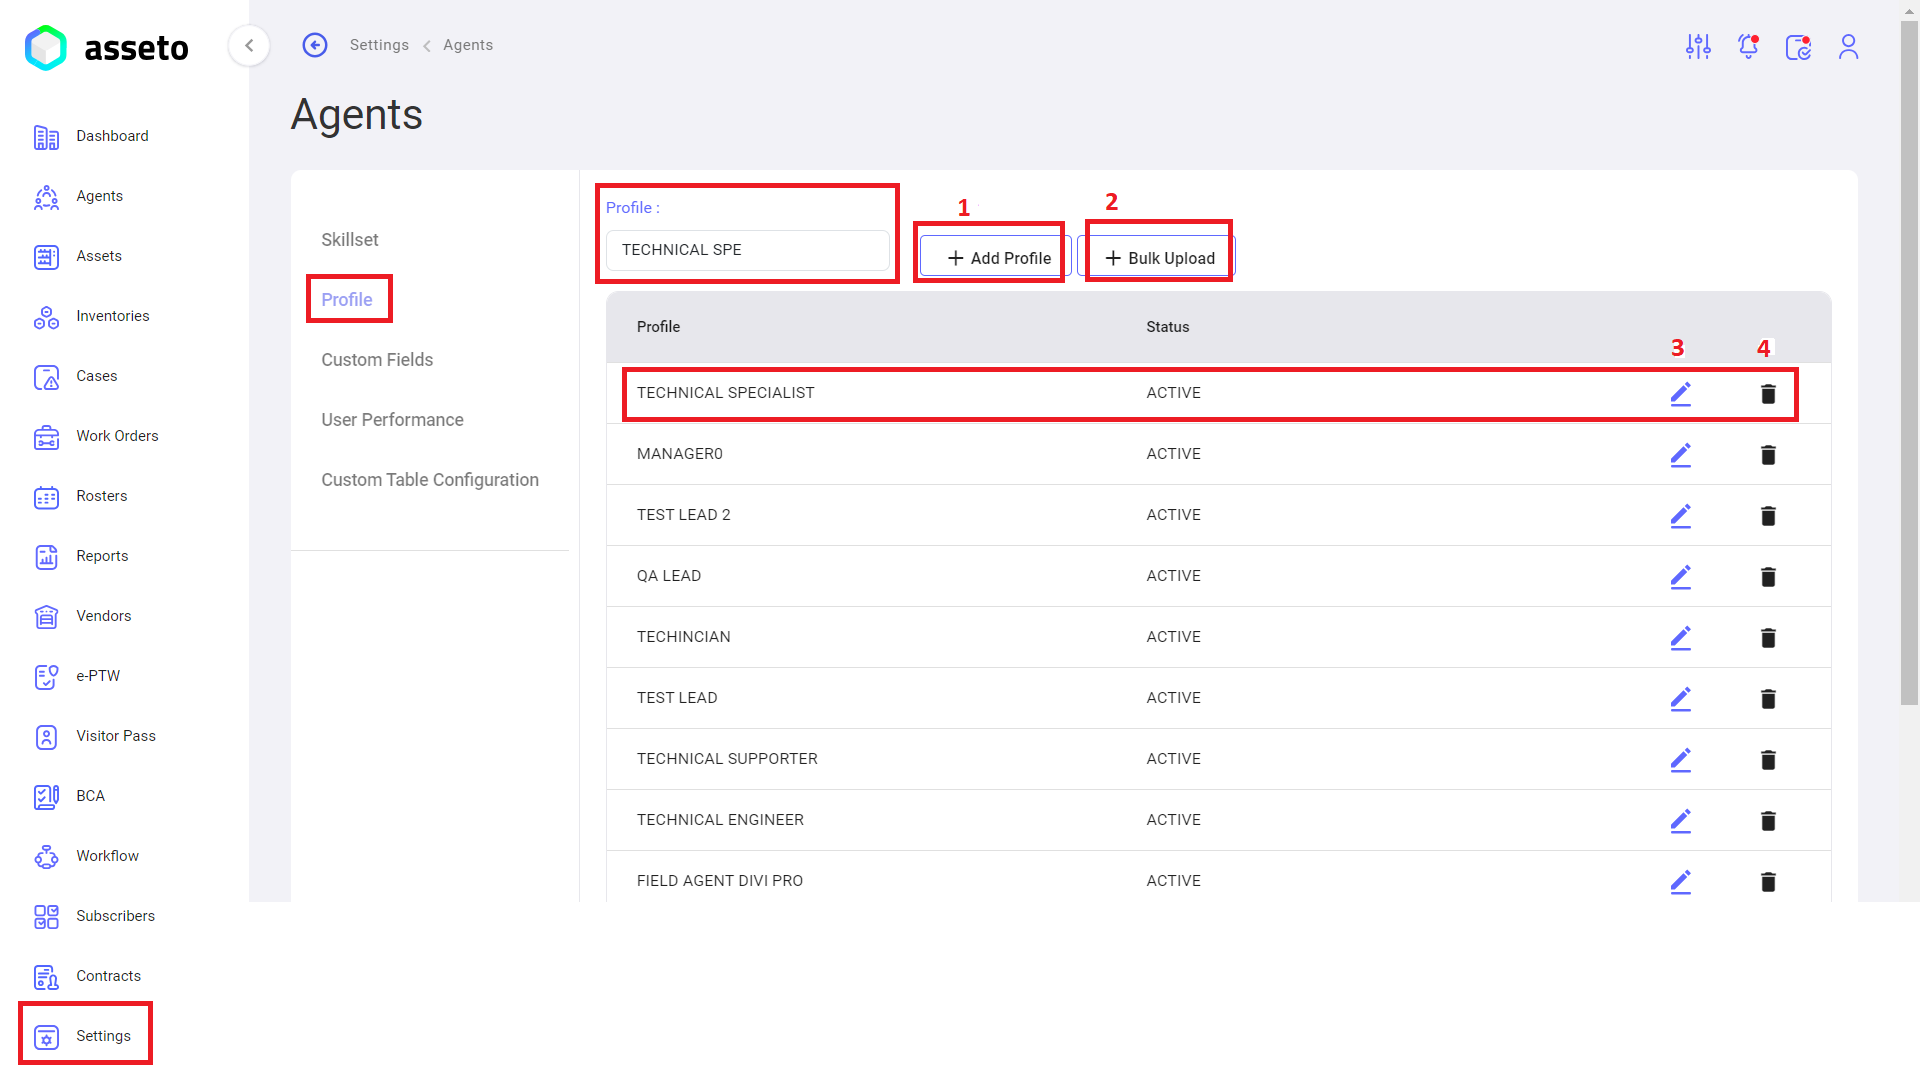
Add Profile: To create a profile, users can type in the text box and click the "Add Profile" button.
Profiles Bulk Upload: To create multiple profiles simultaneously, users can click the "Bulk Upload" button, download the CSV file, fill in the data, and upload the file to save multiple profiles.
Edit Profile: Users can edit an existing profile by clicking the edit icon in each row of the profile list.
Delete Profile: Users can delete an existing profile by clicking the delete icon in each row of the profile list.
Settings -> Agents -> Skillset:
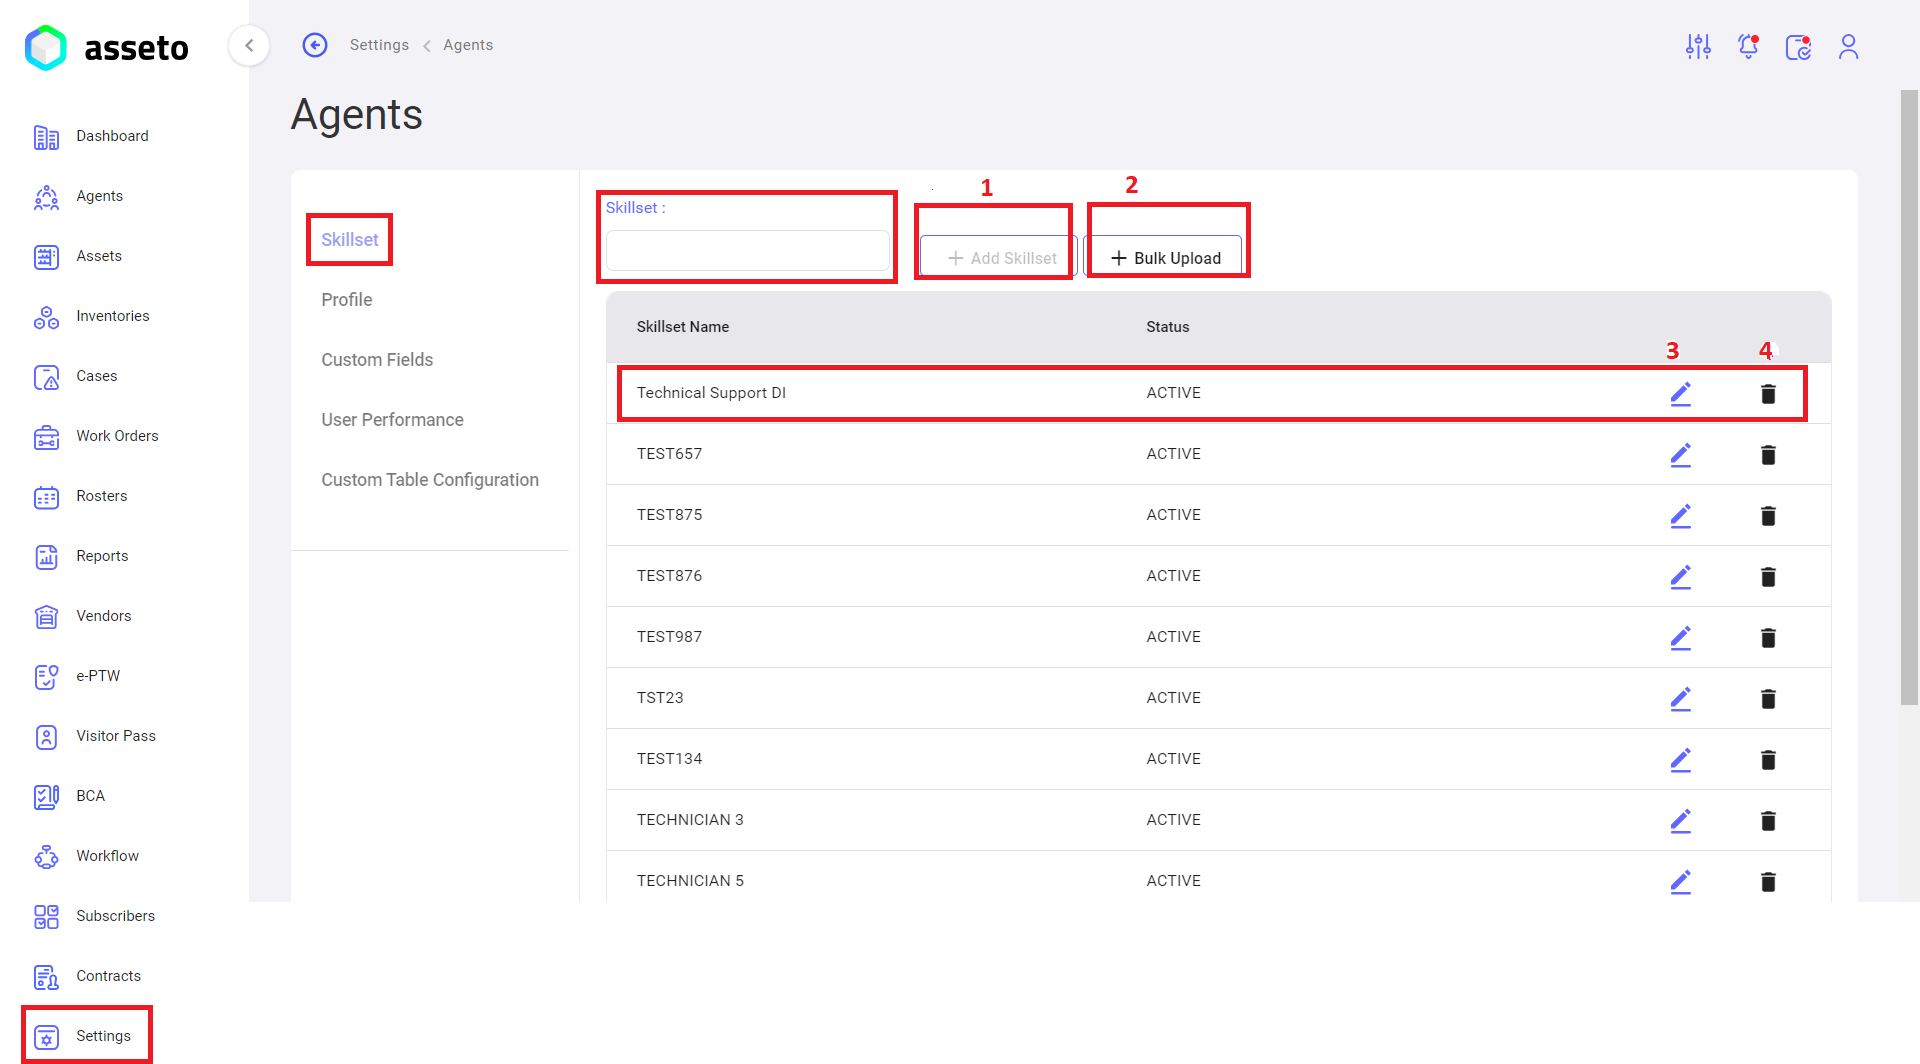
1. Add Skillset: Users can add a new skillset to use in various modules like agents and assets. To create a skillset, type in the skillset text box and click the "Add Skillset" button.
2. Skillset Bulk Upload: To create multiple skillsets at once, users can click on the "Bulk Upload" button, download the CSV file, fill in the data, and upload the file to save multiple skillsets.
3. Edit Skillset: Users can edit an existing skillset by clicking the edit icon available in each row of the skillset list.
4. Delete Skillset: Users can delete an existing skillset by clicking the delete icon available in each row of the skillset list.
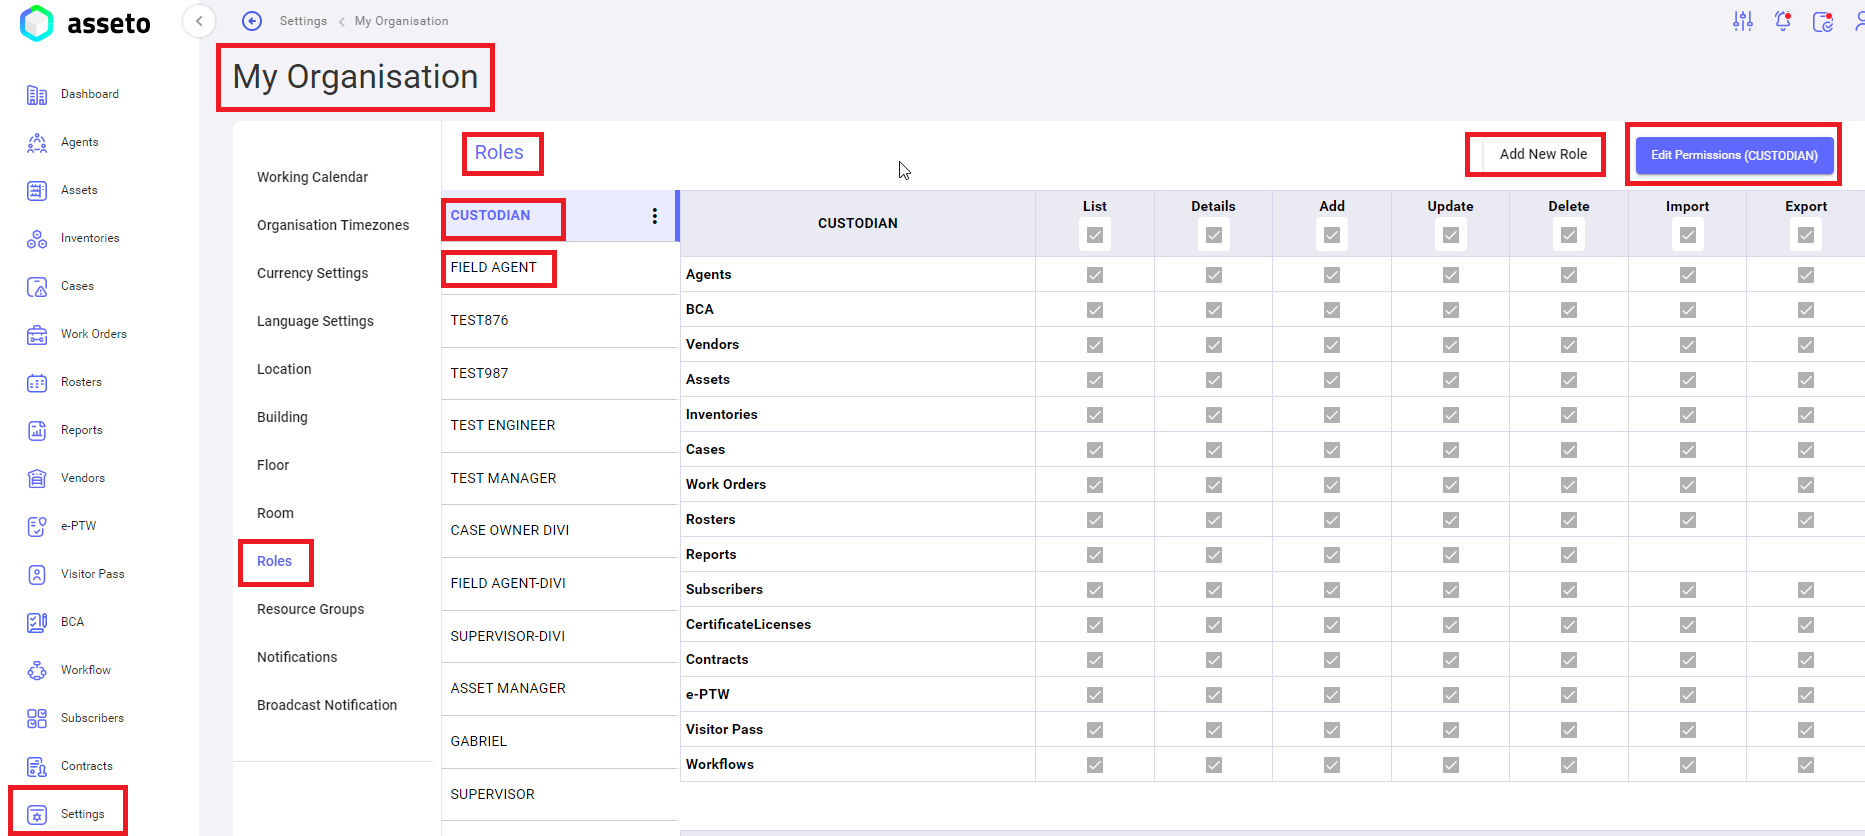
ii. Settings -> My Organization -> Roles:
Here, users can create a new role for onboarding, which can be utilised in various modules like agents and asset creation.
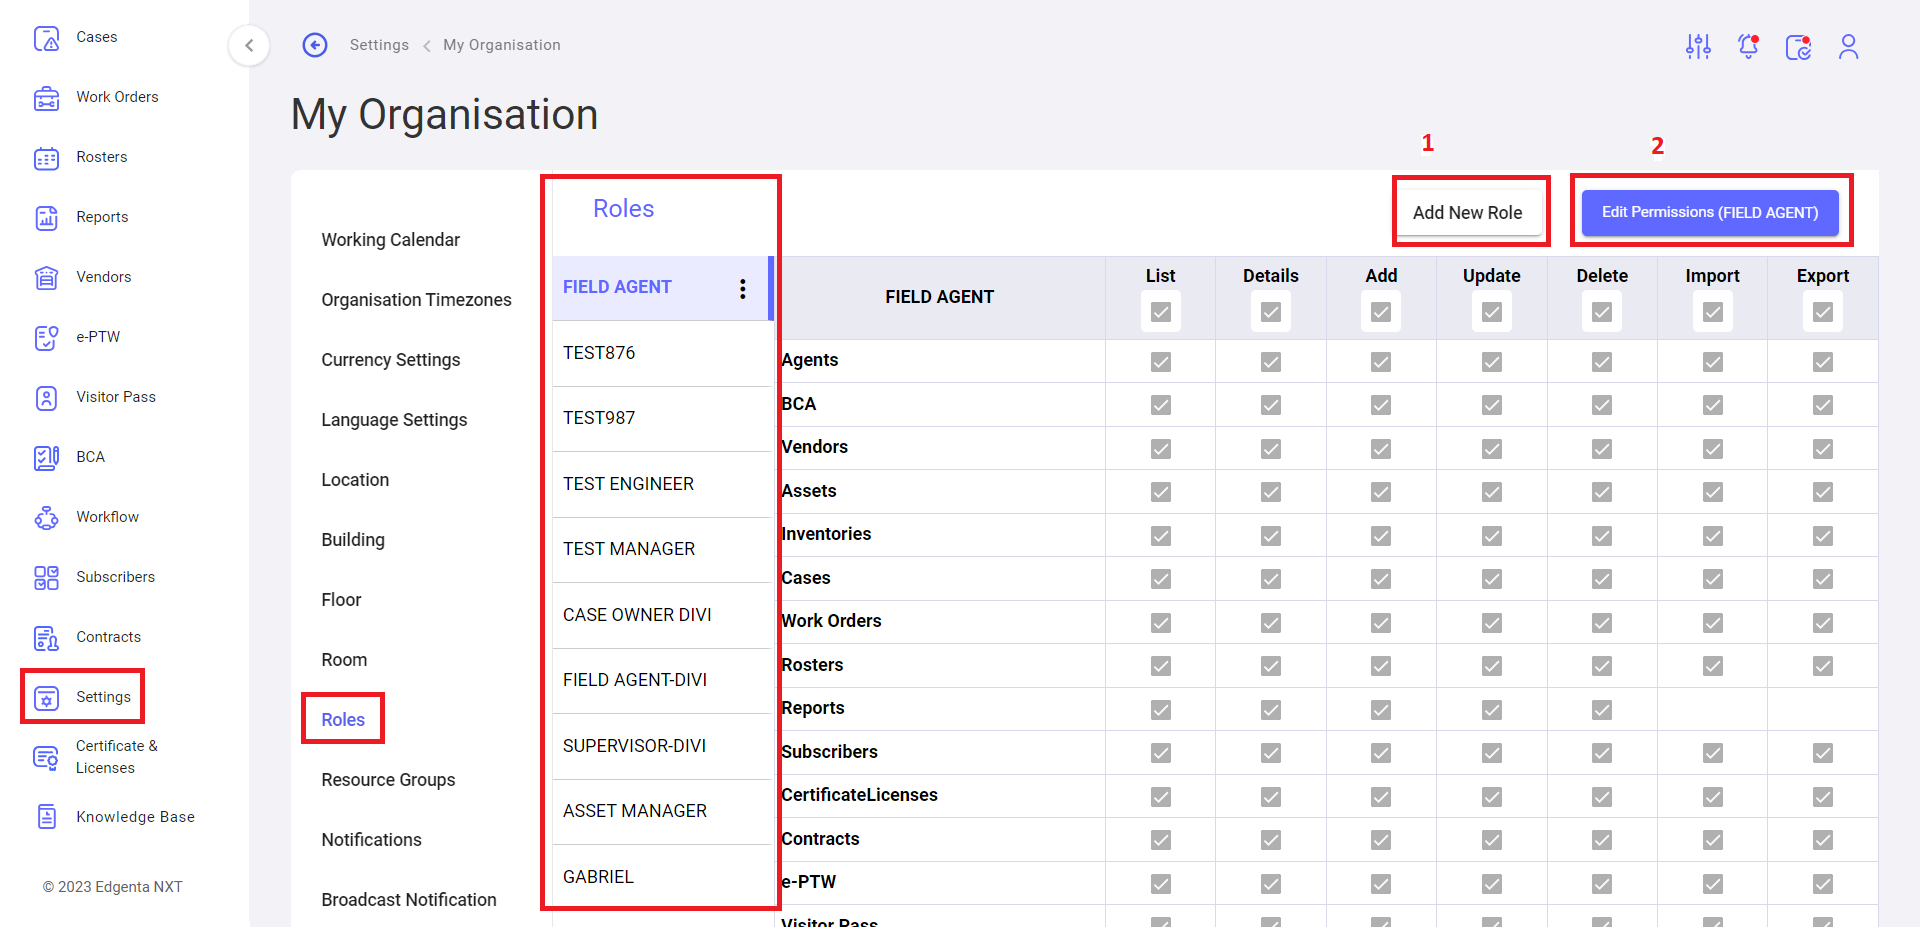
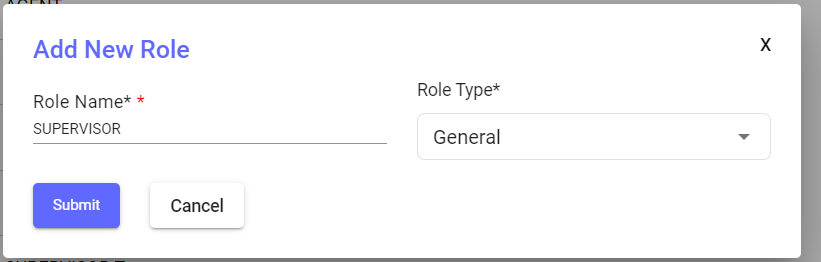
1. Add Role: Click on the "Add New Role" button, provide the role name, and select the role type (mandatory fields), as shown in the screenshot below. Then, click on the "Submit" button to save the role details.
2. Permissions: Users can assign permissions to a role by clicking on the "Edit Permissions" button. Select the checkboxes to grant the appropriate permissions for the selected role, which was created earlier, as shown in the screenshot below.
Settings -> My Organization -> Resource Groups:
Users can create a new resource group by clicking on the "Add Resource Group" button, which can be used in various modules such as agents and asset creation.
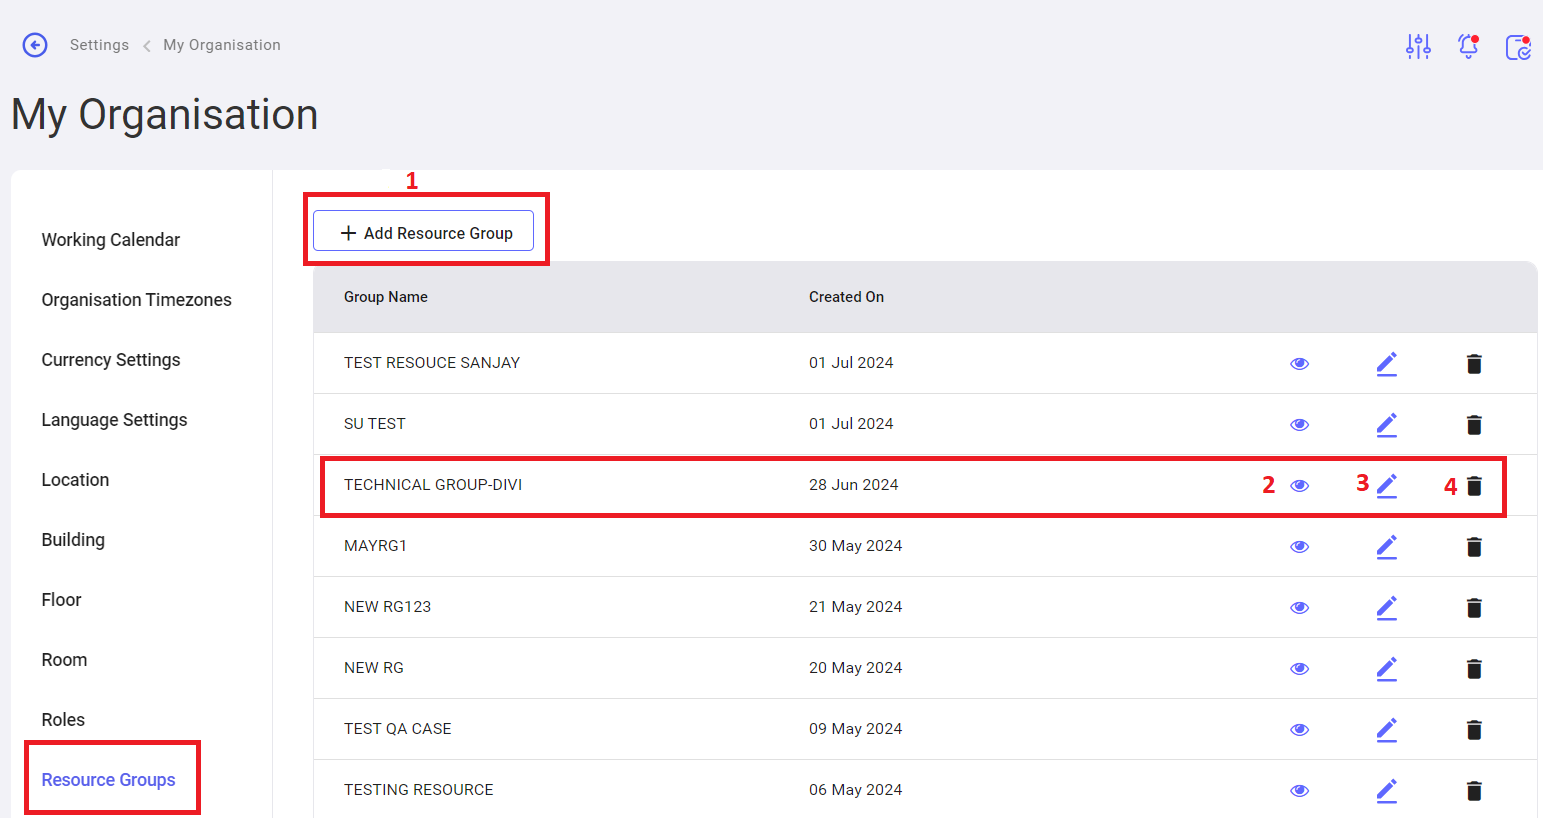
1. Create Resource Group: When the user clicks on the "Add Resource Group" button, the following page will be displayed. Fill in all the mandatory fields to enable the "Save" button. Once completed, click on the "Save" button to save the resource group.

2. View Resource Group: Users can view the resource group that was created earlier.
3. Edit Resource Group: Users can edit the selected resource group that was created earlier.
4. Delete Resource Group: Users can delete the selected resource group that was created earlier
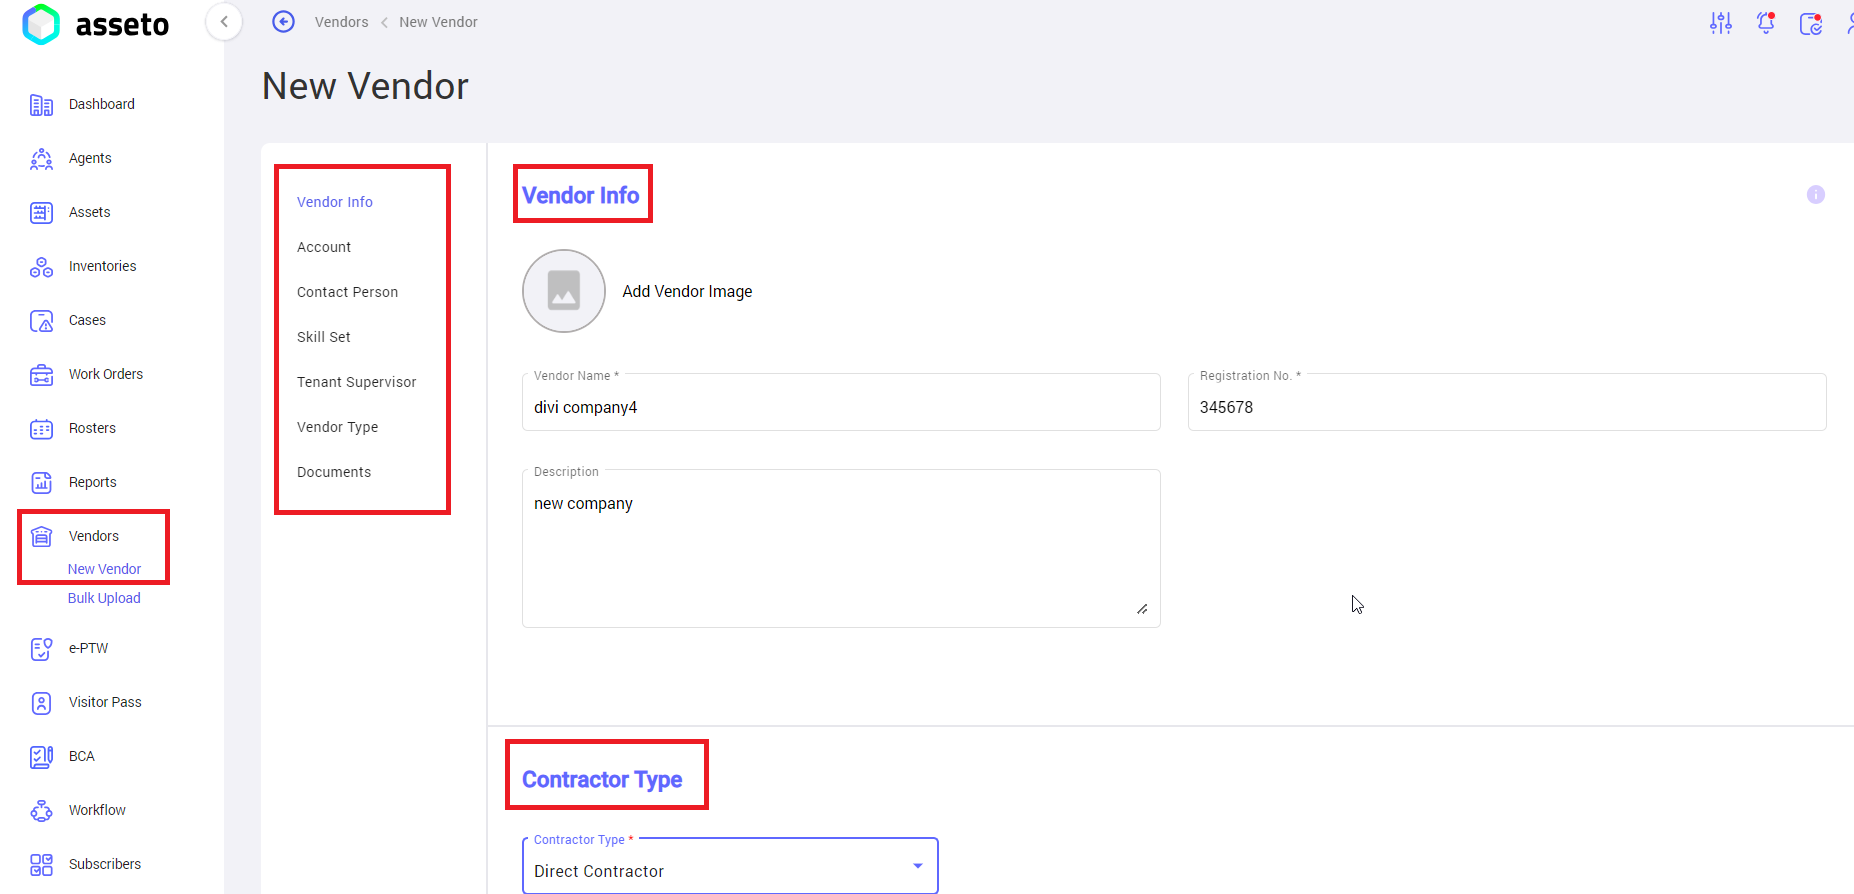
Go to the Vendor module and create a new vendor (to select the vendor from the dropdown while creating a new agent or asset). Fill in the mandatory and non-mandatory fields to save the vendor details.
Note: For more details, please review sections 9.2 "Pre-requisites for Vendor Creation" and 9.3 "New Vendor" in the Vendor module.
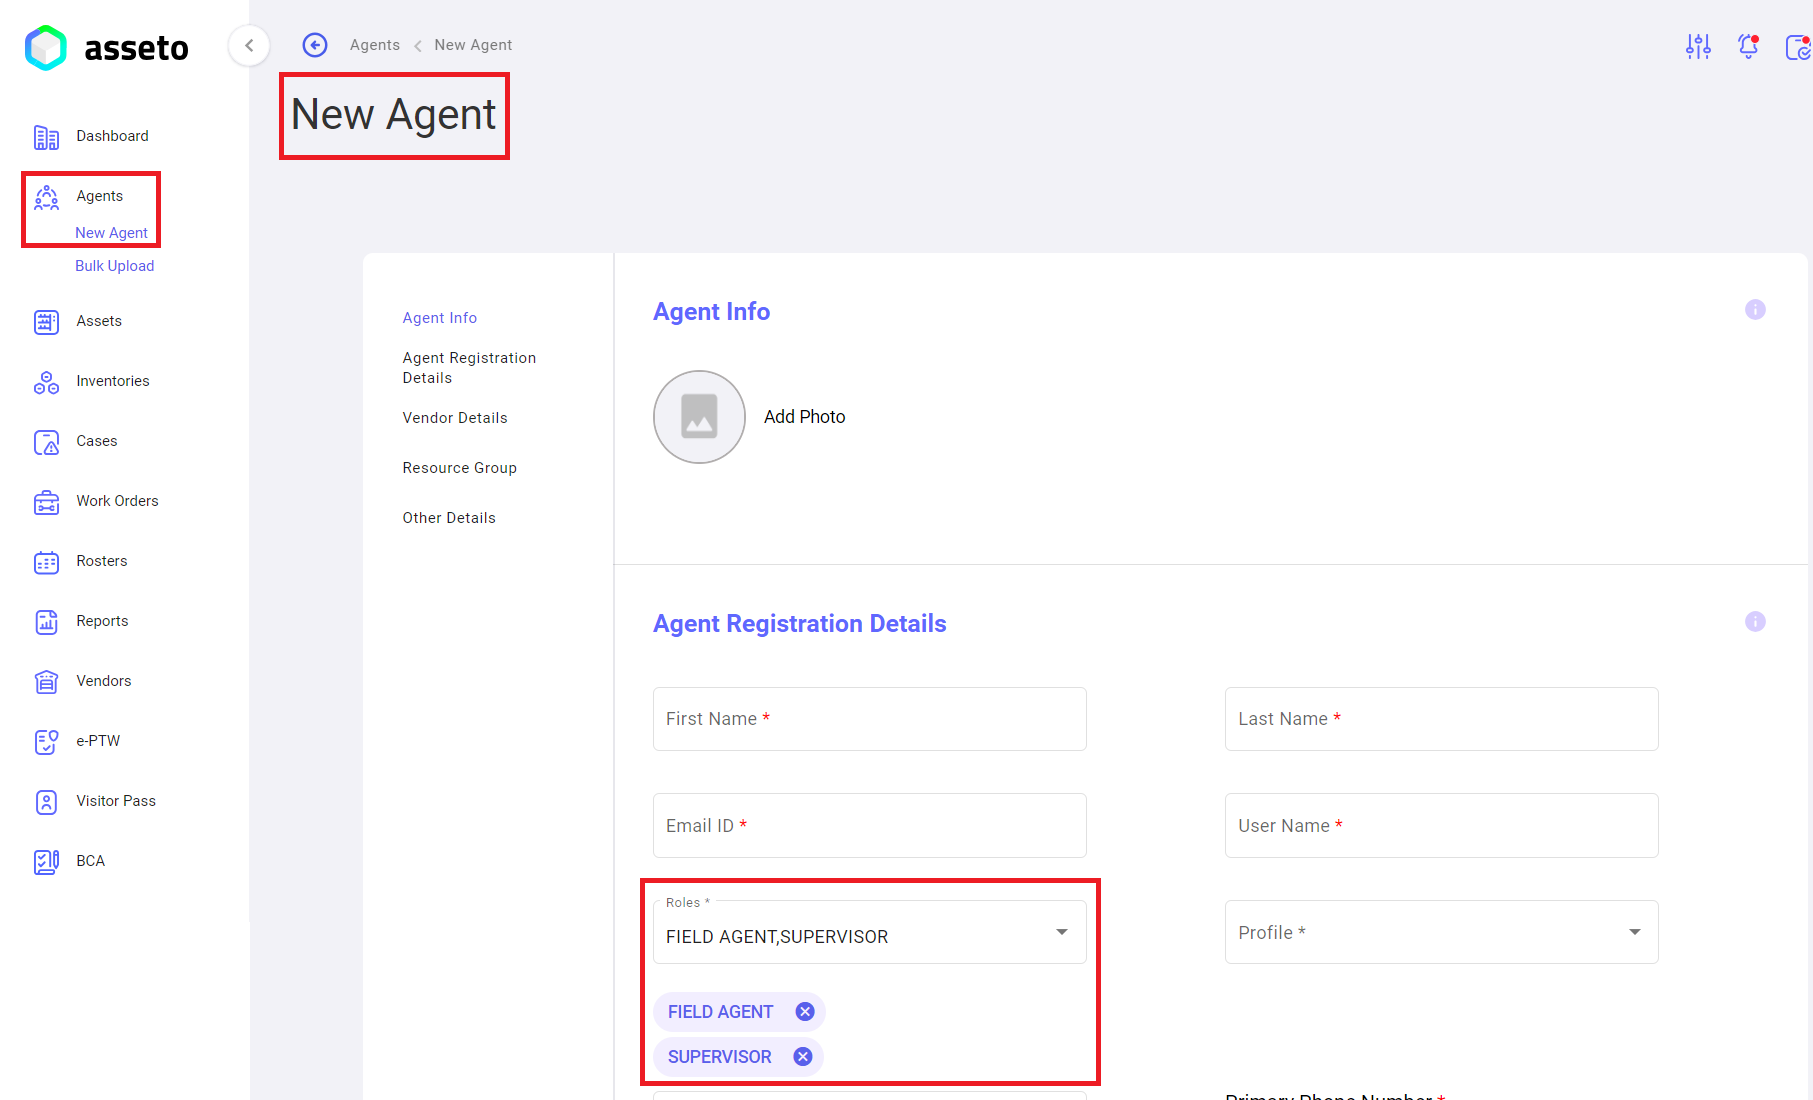
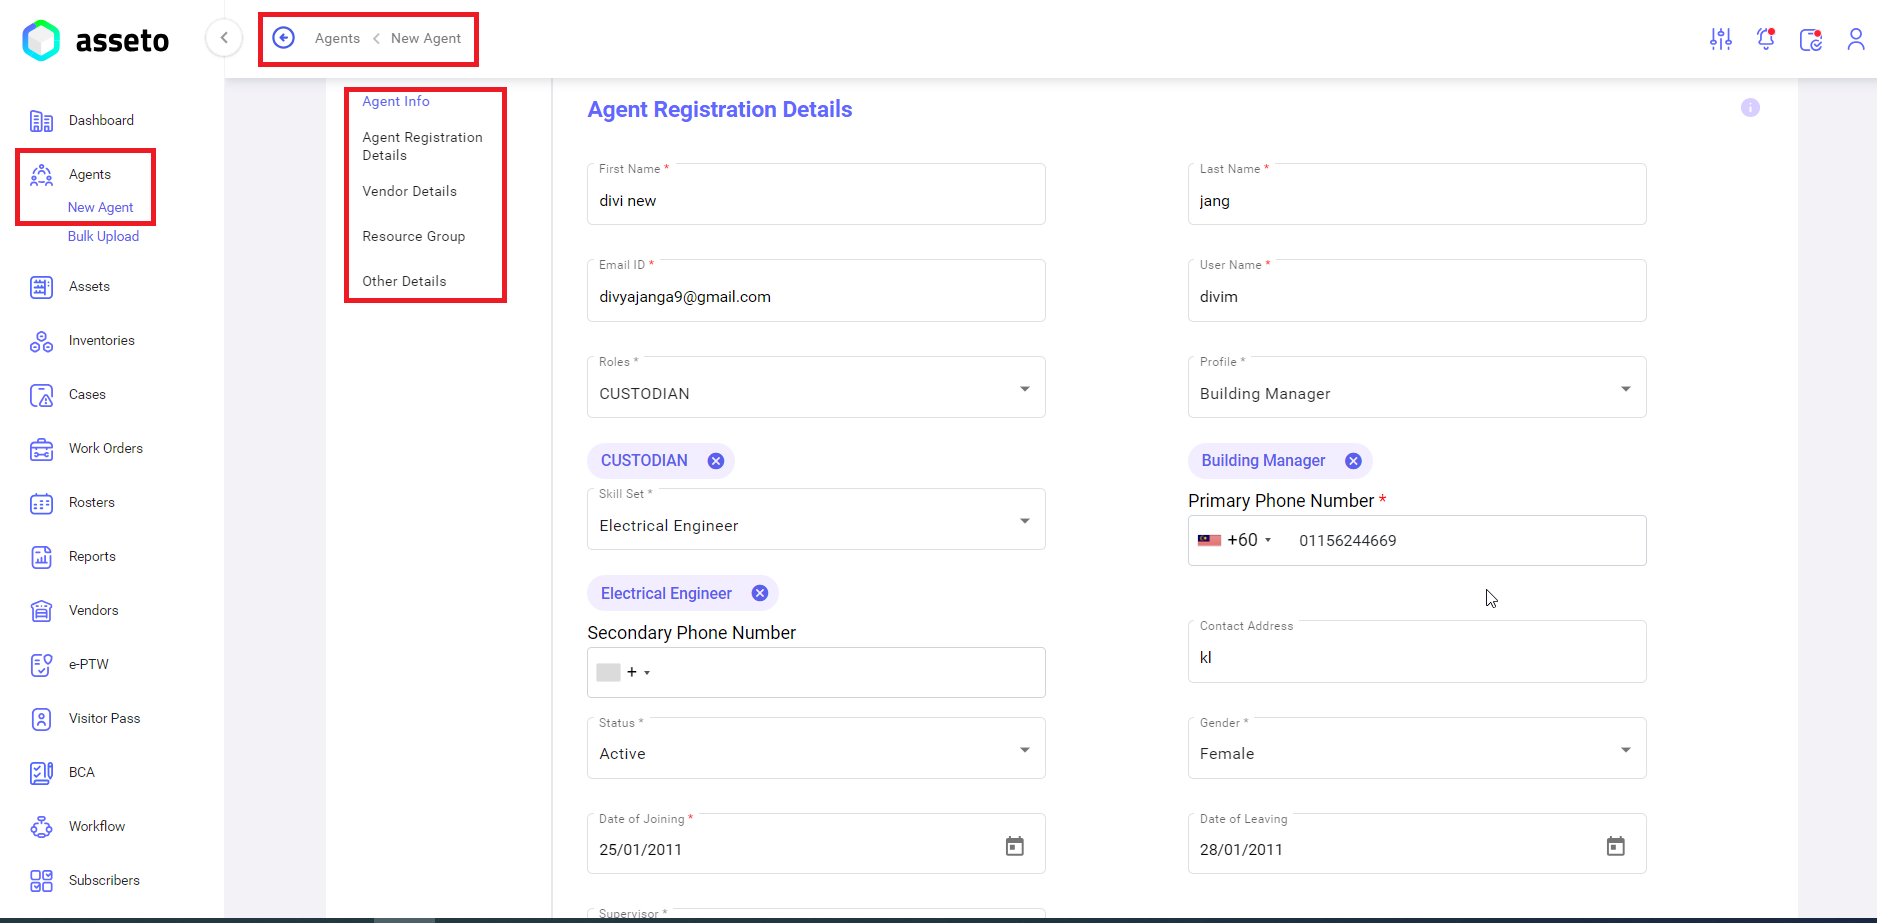
2.3. New Agent
This feature allows users to create individual agents; new agents can be onboarded on this page.
Note: Each agent should provide a unique email ID that does not match any other agent's email ID.
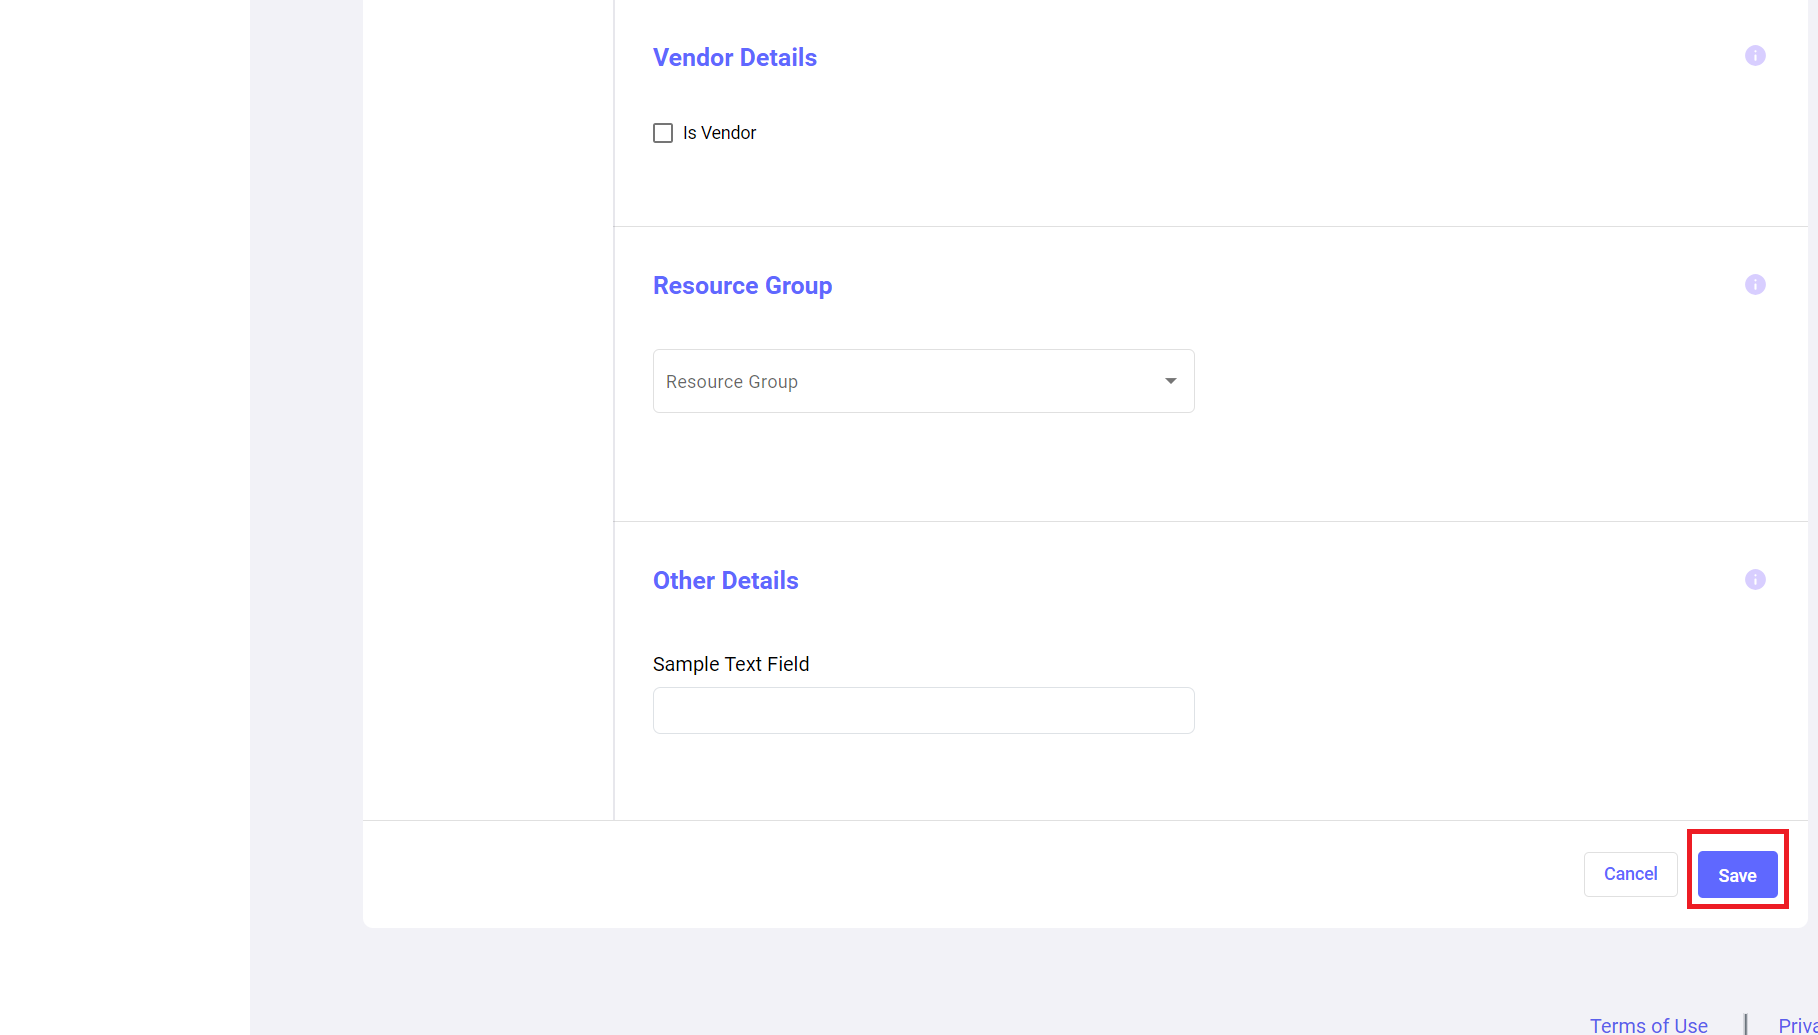
Click the save button to onboard the new agent. An "Agent added successfully" confirmation message will appear, and the screen will navigate to the agent dashboard, where the newly added agent will be displayed at the top of the list.
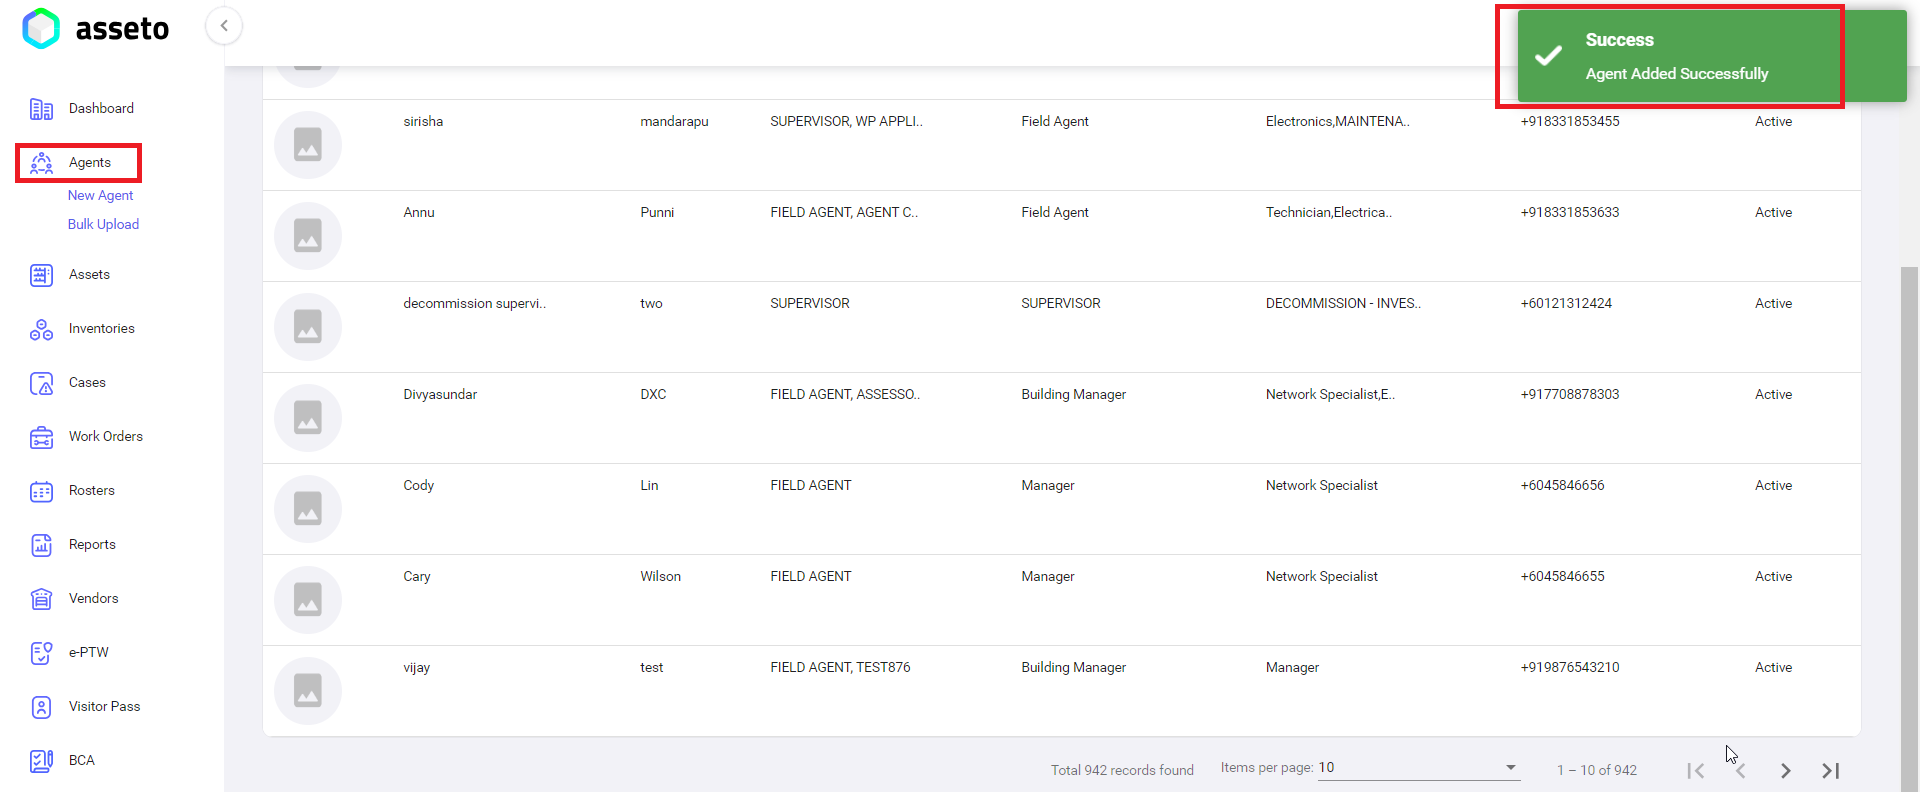
In the agent list, the newly added agent will appear at the top.
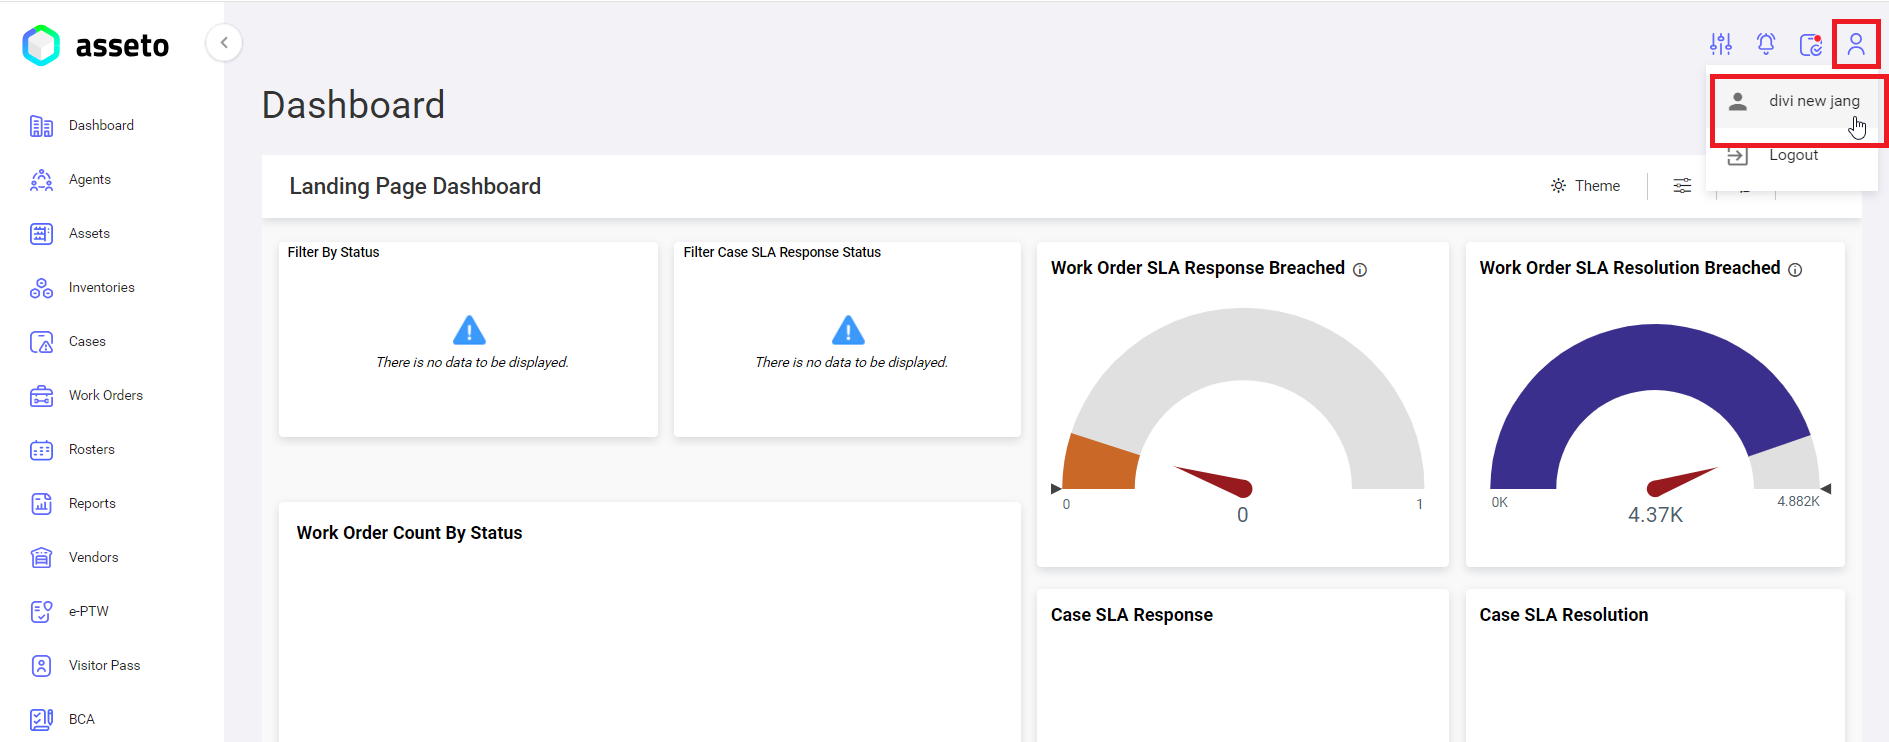
2.4. Agent Login Procedure
Registered users will receive an account confirmation email containing temporary credentials and a login link for the Asseto application. This will be sent to the registered email ID provided on the new agent registration page.
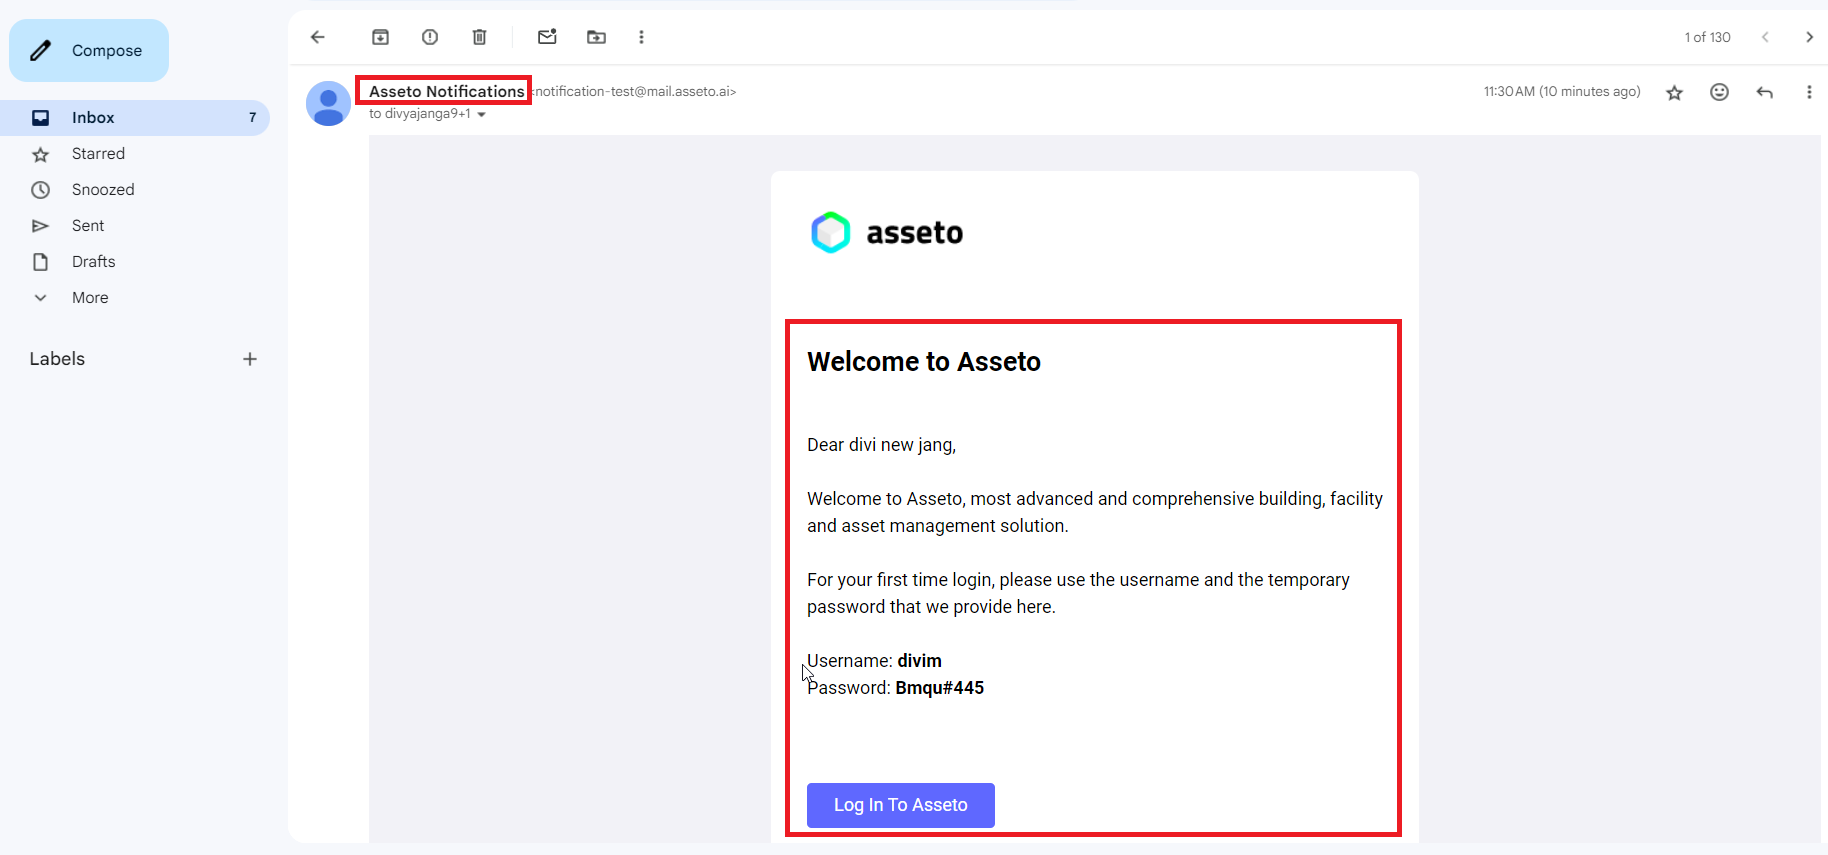
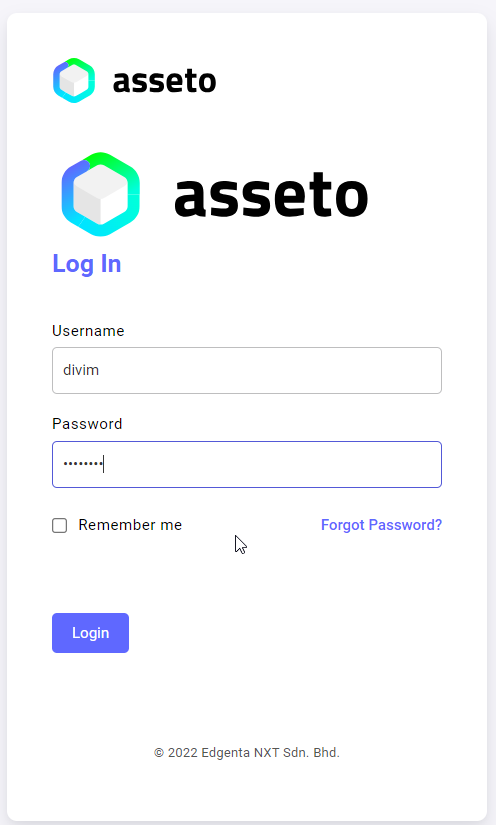
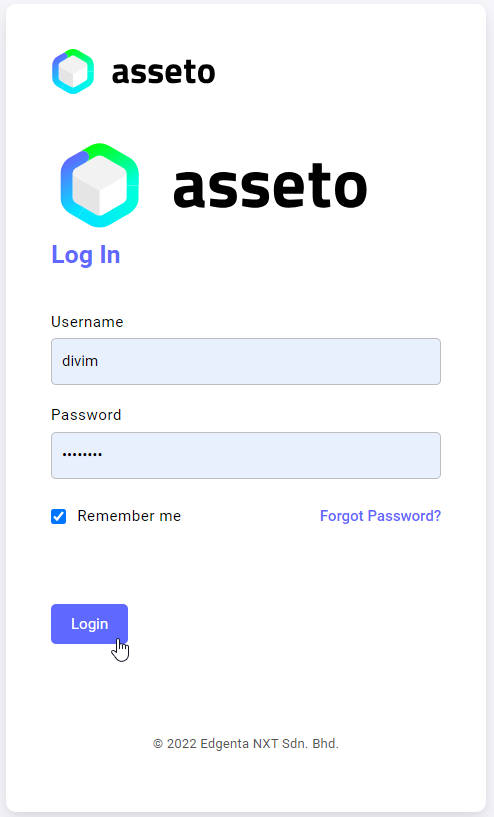
Once the agent clicks on the "Log in to Asseto" button, they will be directed to the Asseto login page, where they can log in using the temporary credentials. This process is illustrated in the screenshot below.
A confirmation message will be displayed: "You need to verify your email address to activate your account."

Verification link will be sent to email.
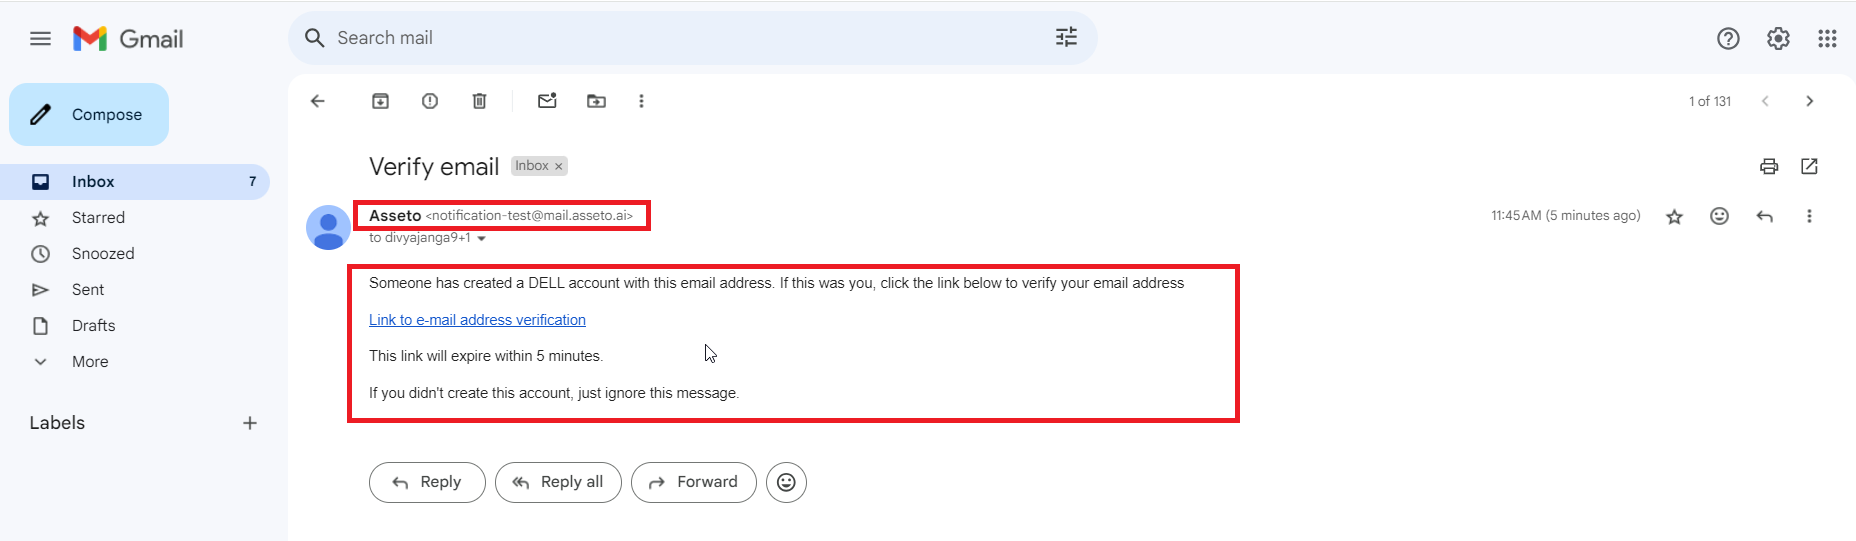
Click on the link provided in the email. The user will be directed to the Asseto user agreement page.
Click the checkbox to enable the accept button. Once clicked, the user will be directed to the Asseto landing page (dashboard).

2.5. Forgot Password
When a user forgets their password, they may click on the "Forgot Password" option on the login page. This will navigate them to the Forgot Password page.
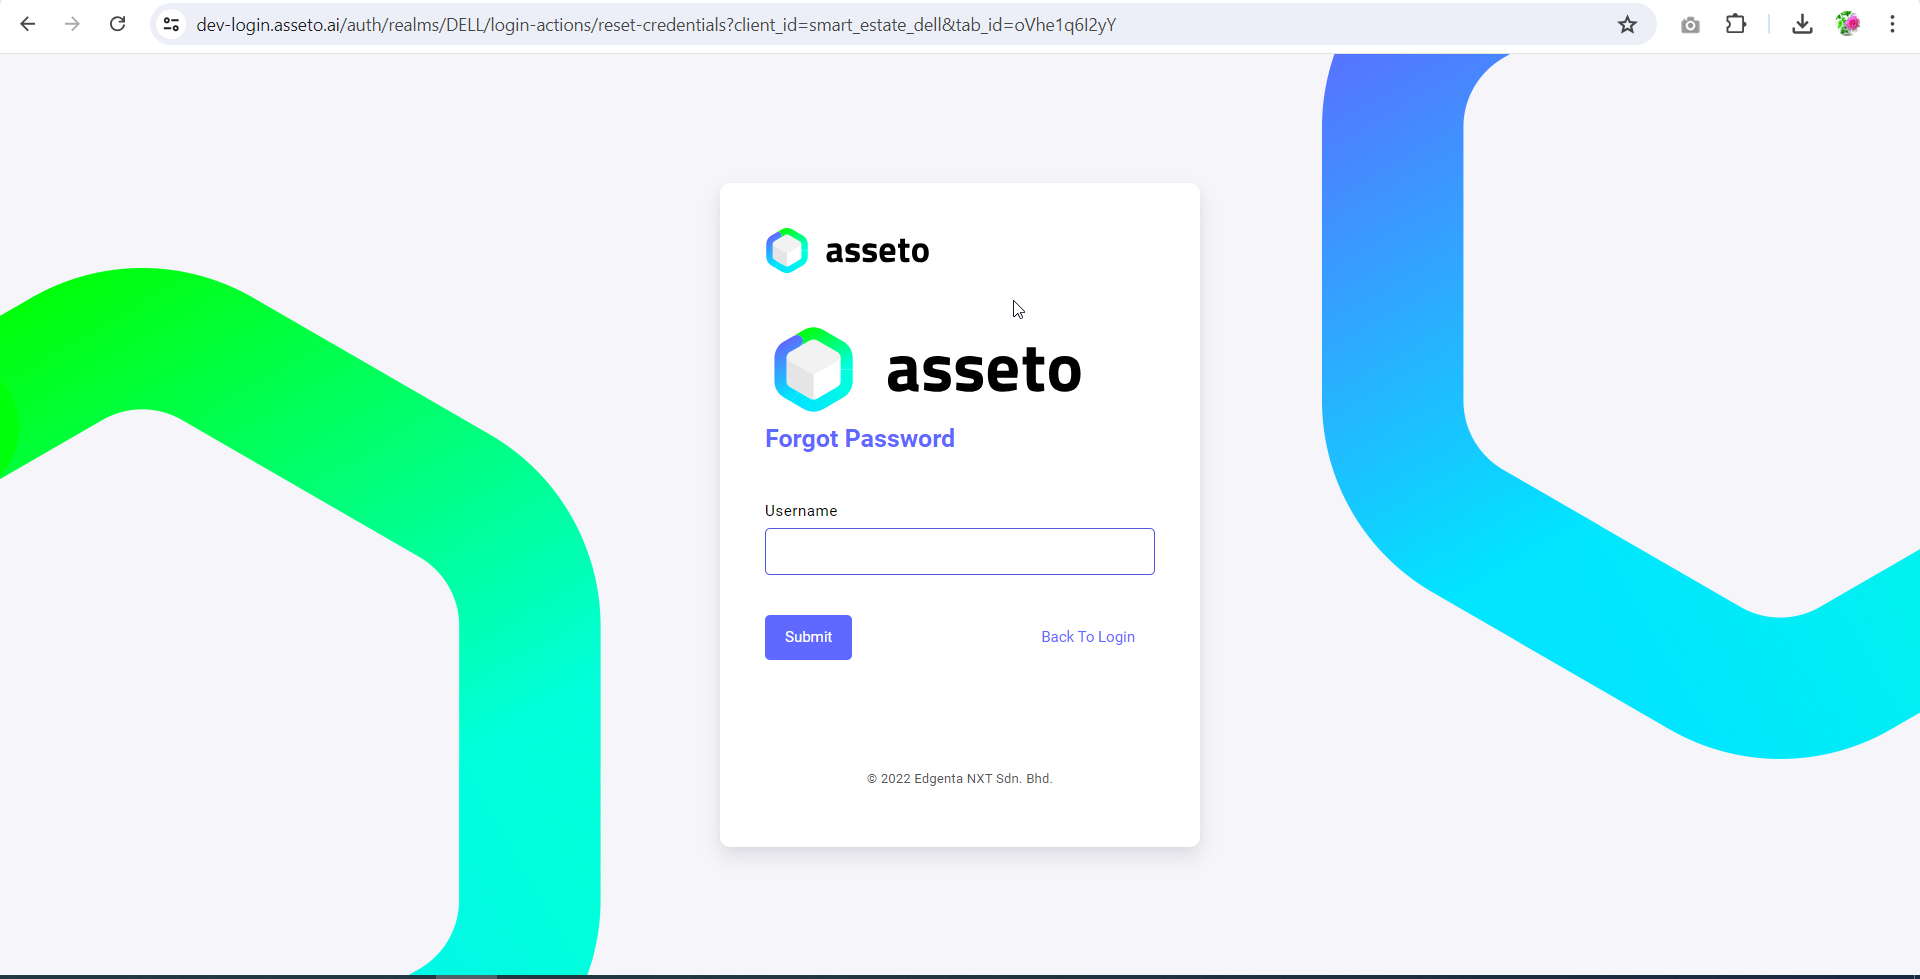
Enter the username and click the "Submit" button. The user will receive an email with a link to reset the password for the Asseto application, sent to the registered email ID provided on the new agent registration page, as shown in the following screenshot.
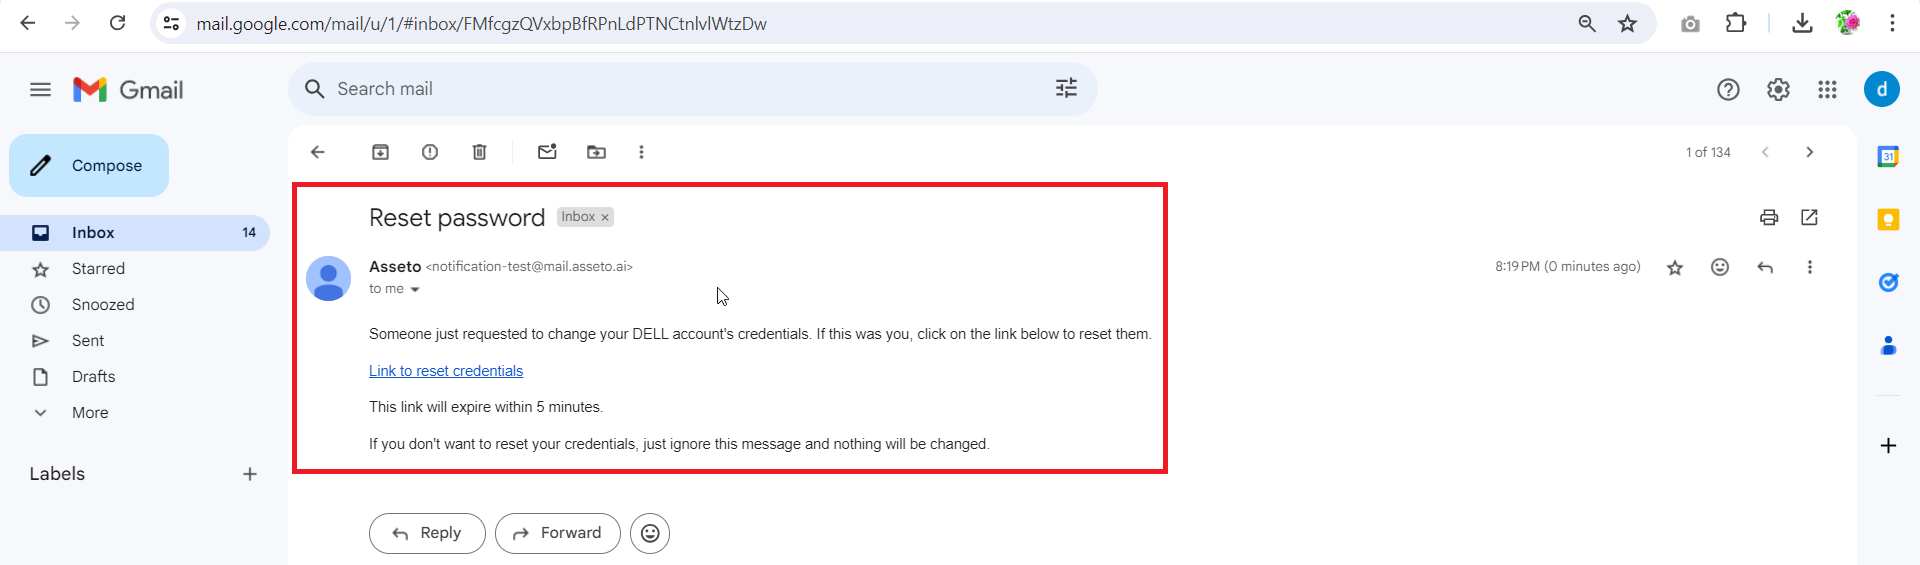
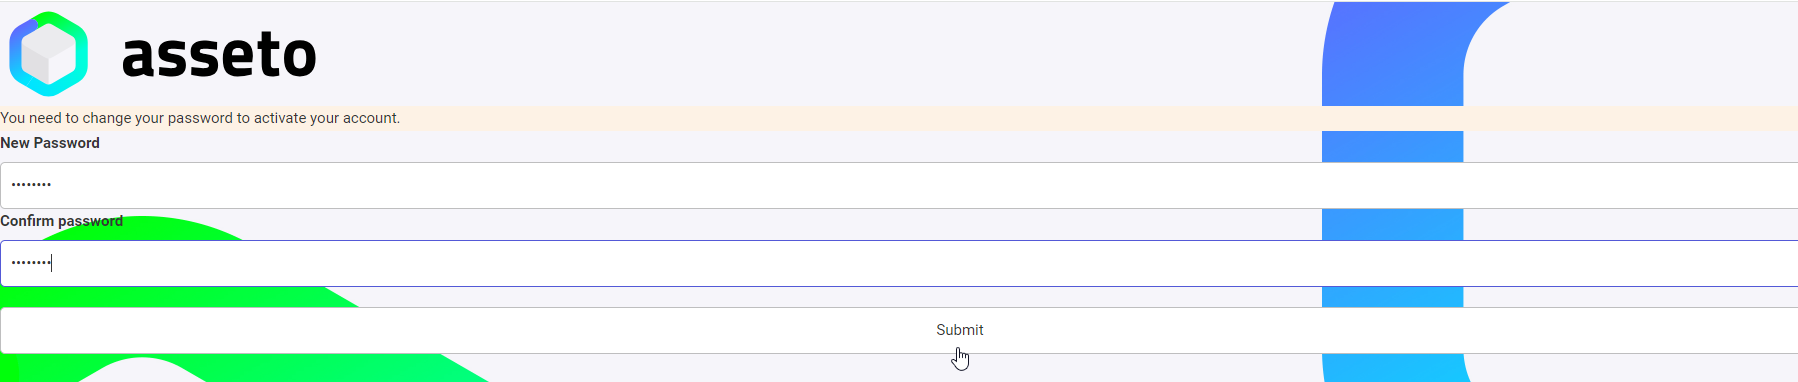
When the link is clicked, the password reset page will be displayed, as shown in the following screenshot.
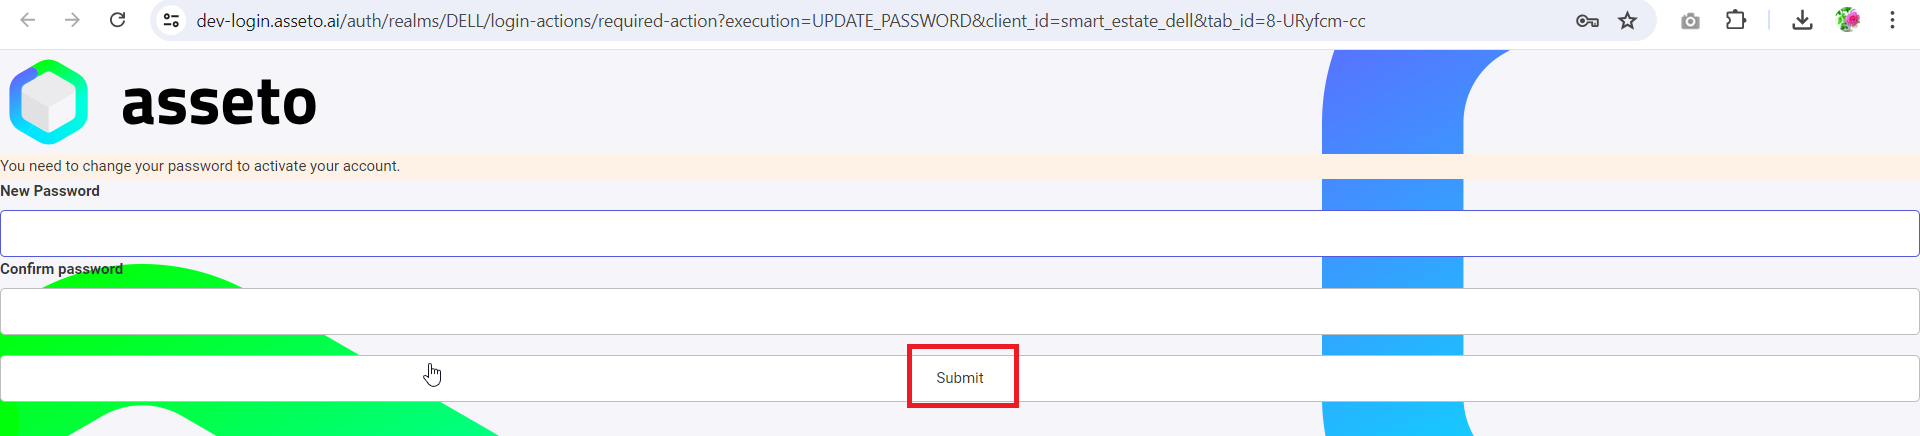
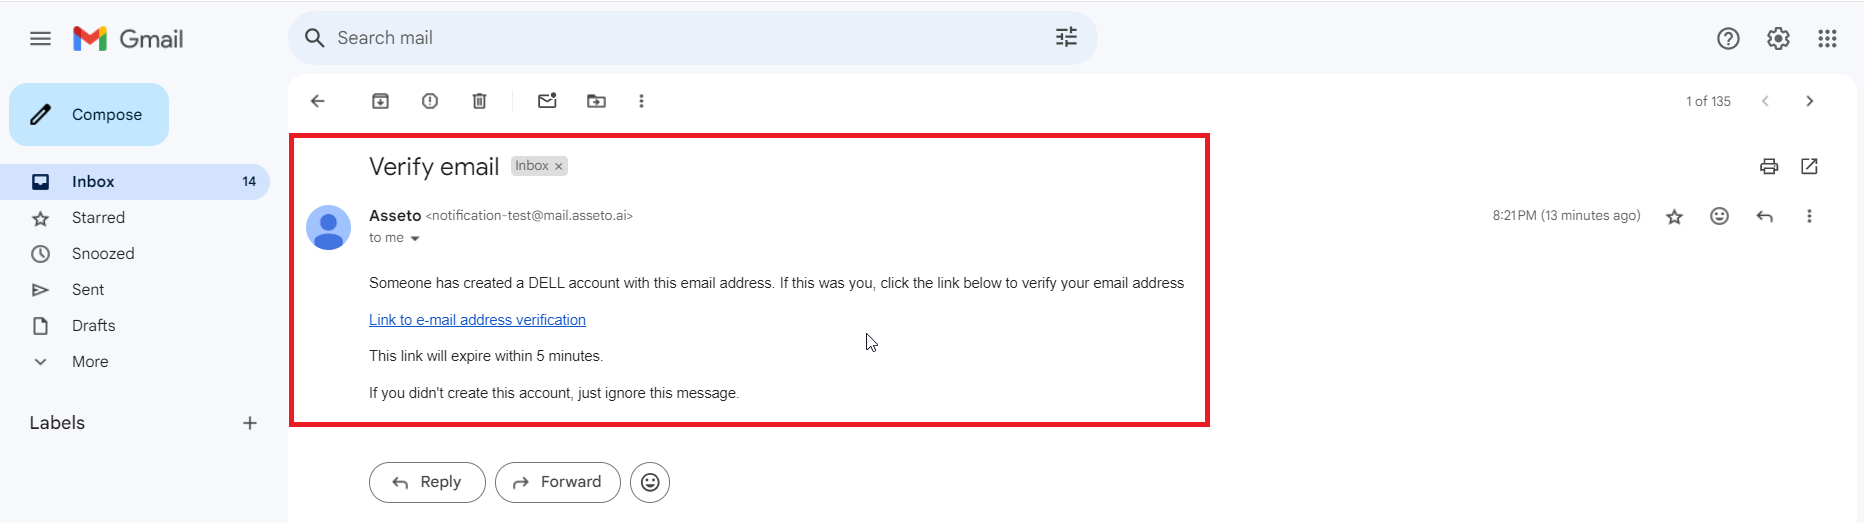
After providing the "New Password" and "Confirm Password," click the "Submit" button. A confirmation message will appear: "Verify your email address to activate your account."

Users will receive an email.
Clicking the link will navigate the user to the agreement page. The user should check the "I Agree" checkbox and then click the "Accept" button.
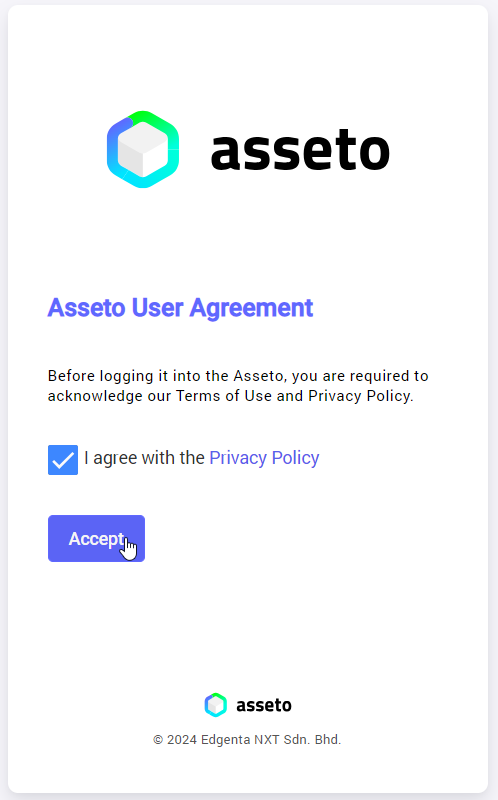
When the user clicks the "Accept" button, they will be directed to the Asseto landing page (dashboard).
2.6. Bulk Upload
This feature allows the user to onboard multiple agents in bulk.
Agents -> Bulk Upload:
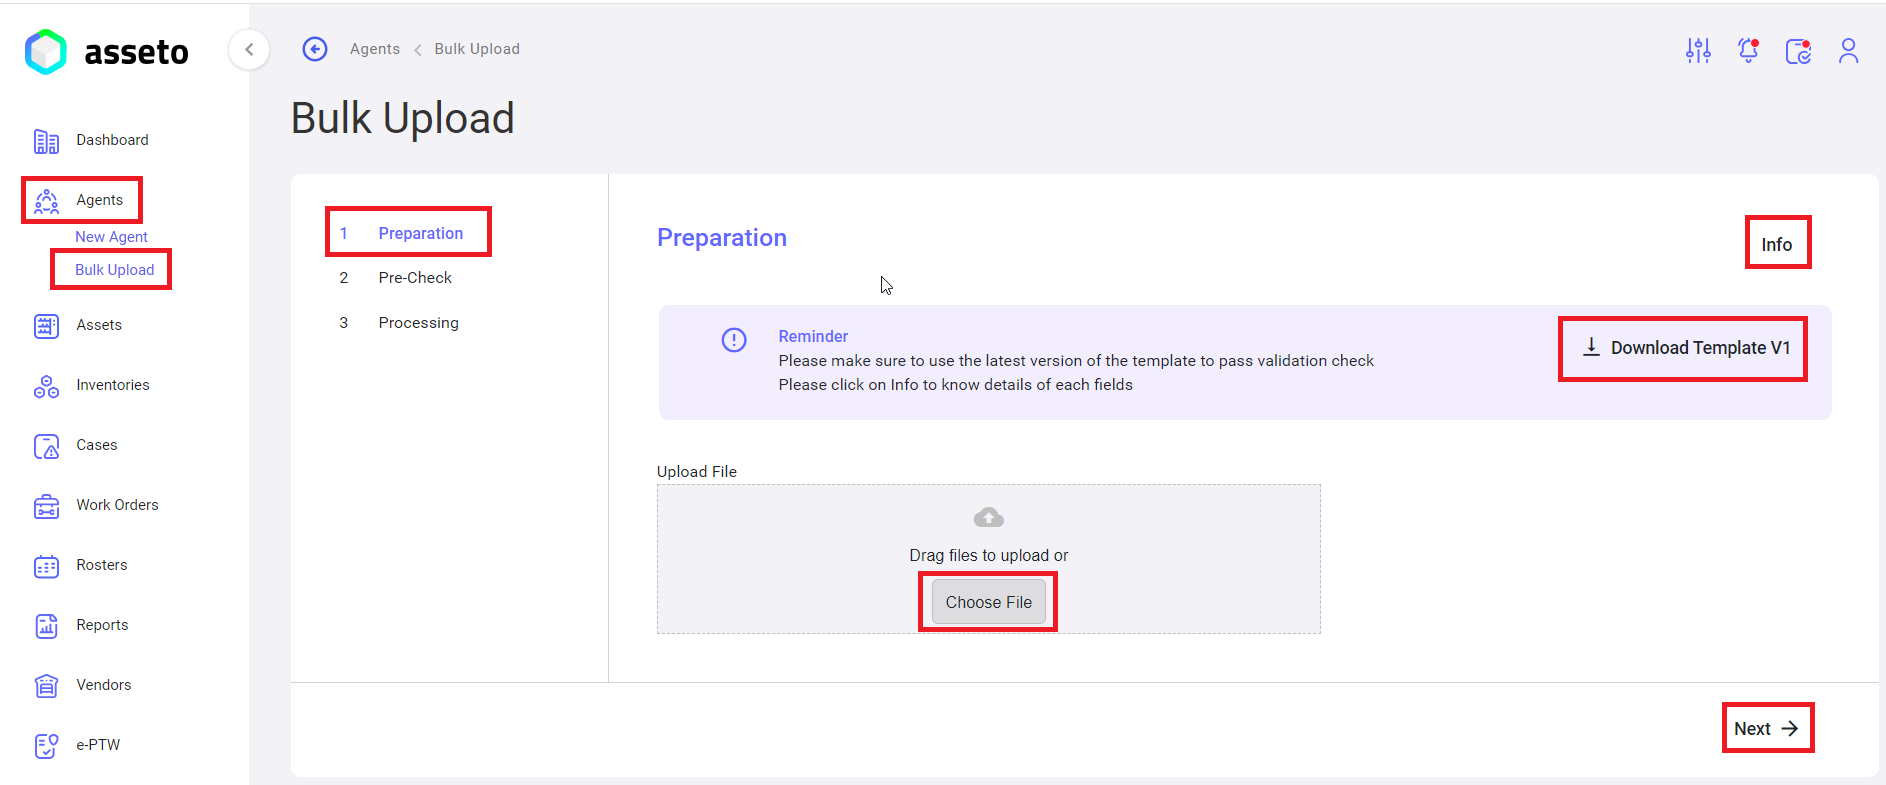
It has three sections:
- Preparation: Download the template.
- Precheck: Perform a validation check to identify any errors in the uploaded sheet.
- Processing: View the progress of the bulk upload process.

1. Preparation: Click the "Download Template" button to download the CSV file. The file will be saved in the Downloads folder on your local PC, as shown in the following screenshot.

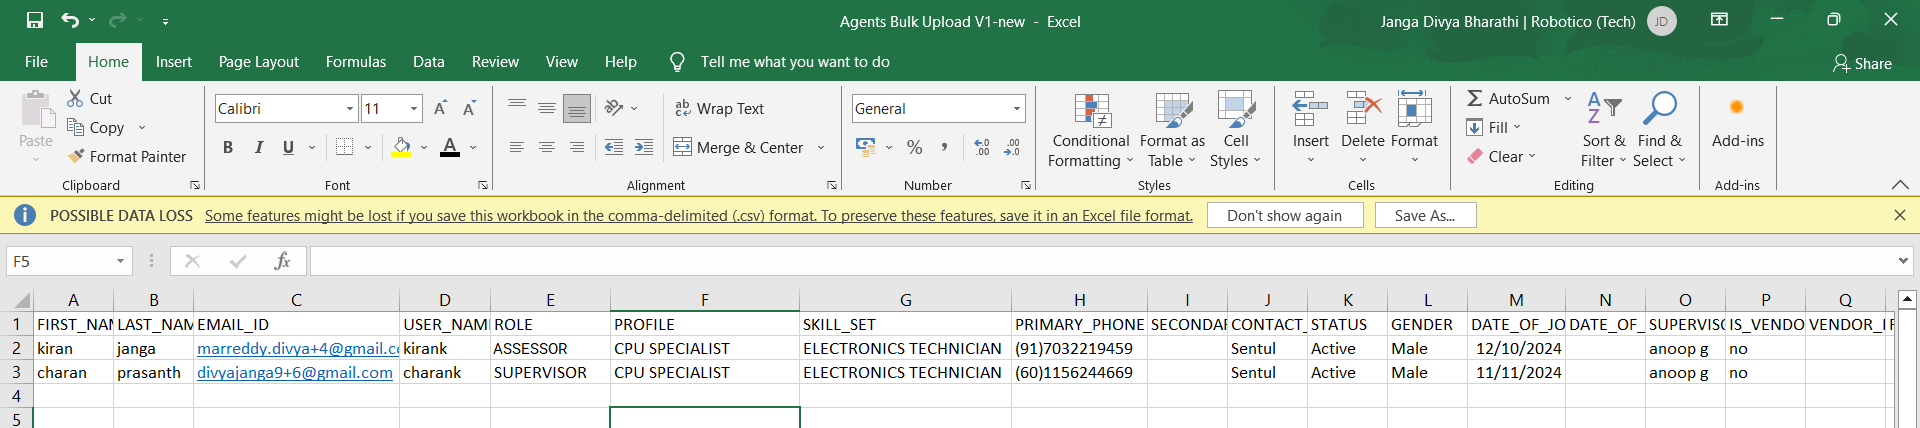
Fill in the data for all agents to be onboarded in the downloaded CSV file, using the bulk upload feature.
Upload the file by clicking the "Choose File" button on the bulk upload page.
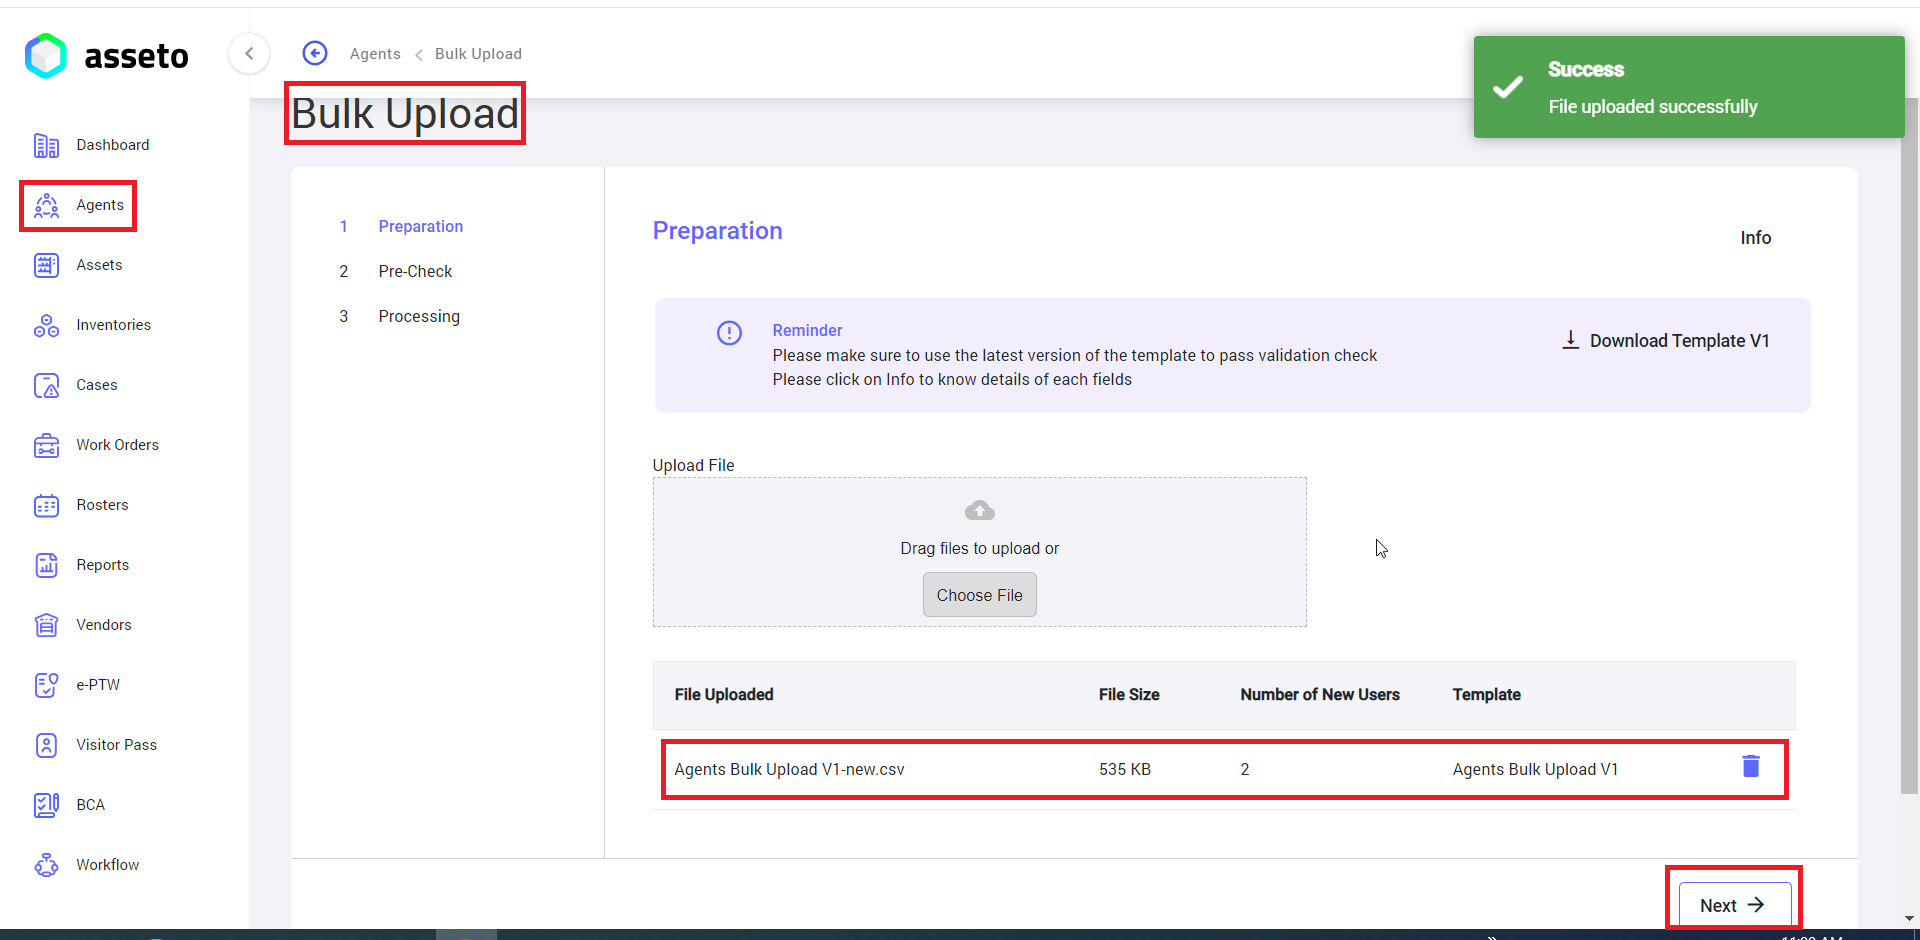
After uploading the CSV file, the "Next" button will be enabled. Click the "Next" button to navigate to the validation check page.
2. Precheck/Validation Check: If the uploaded file contains any errors, they will be displayed here. The user will not be able to proceed to the next stage until those errors are corrected. The "Submit" button will be enabled (as shown in the screenshot below) if there are no errors in the CSV file.
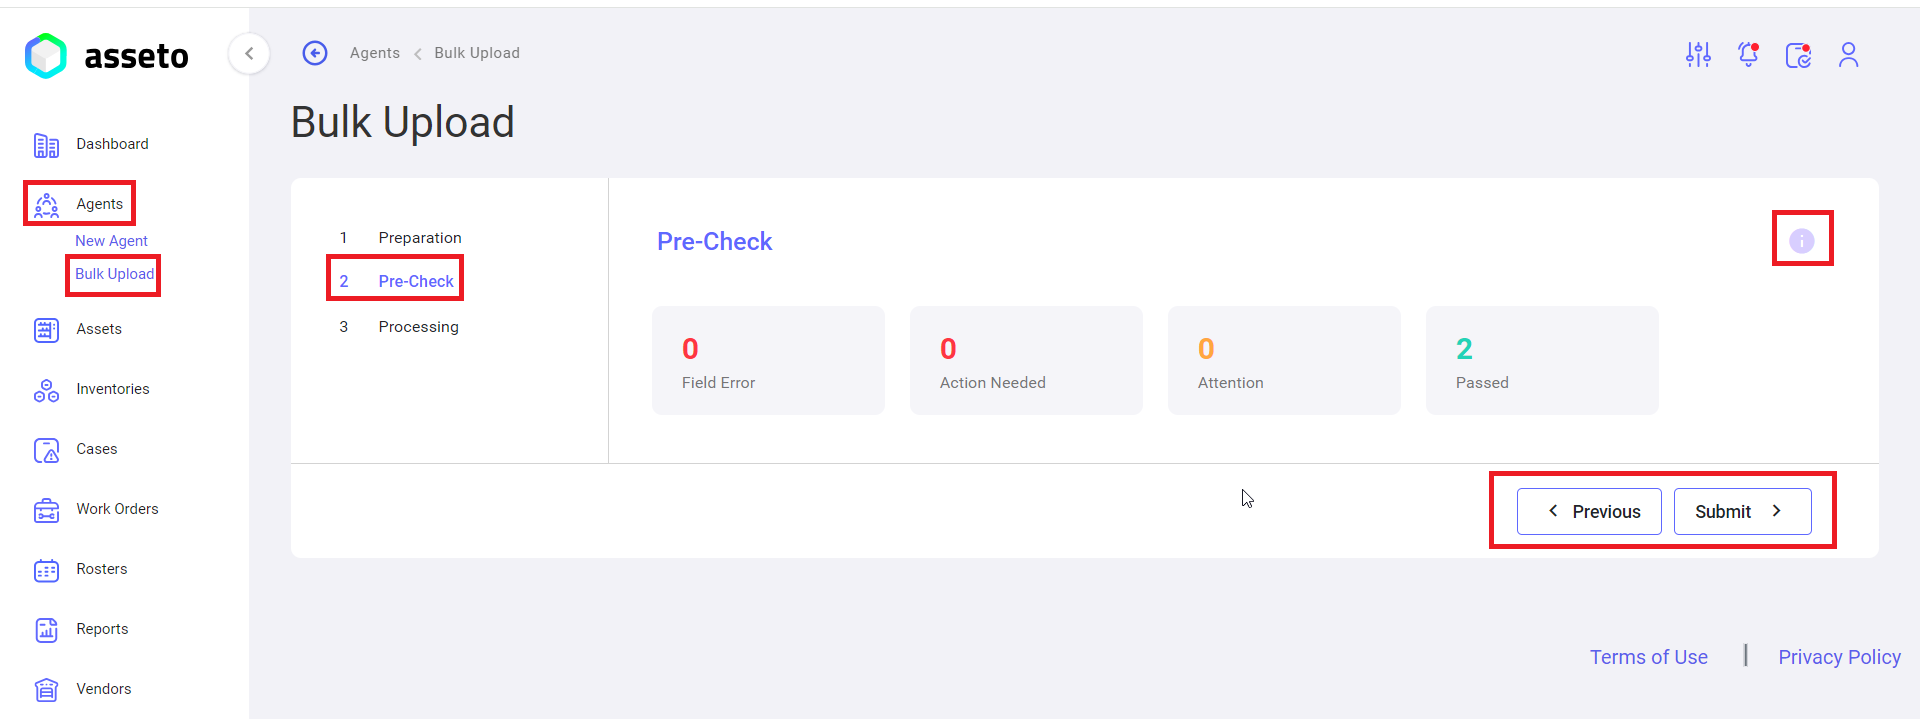
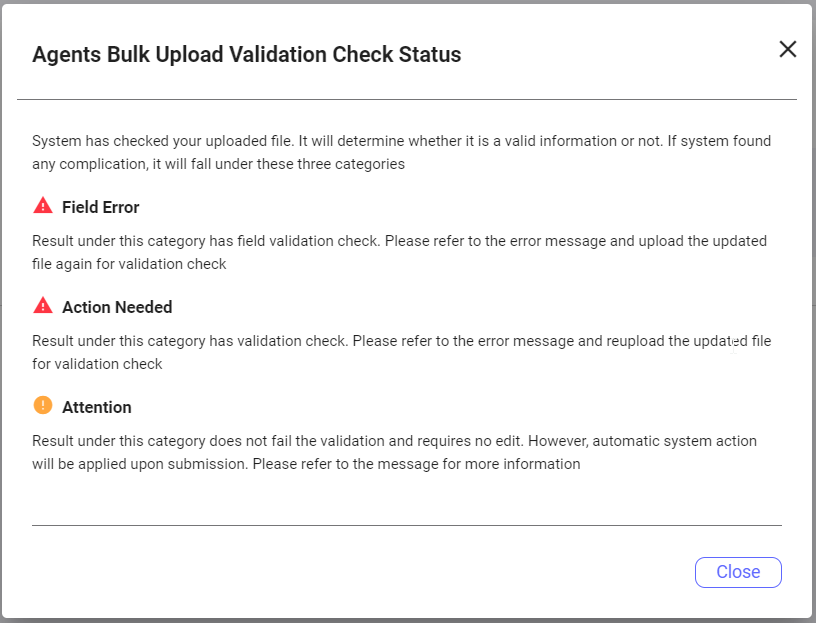
Note: Click on the tooltip (icon) to check the validation status on the validation/pre-check page.
If there are no errors, the user can view the passed count (i.e., the number of agents added) and the "Submit" button will be enabled. Click the "Submit" button to navigate to the next page.
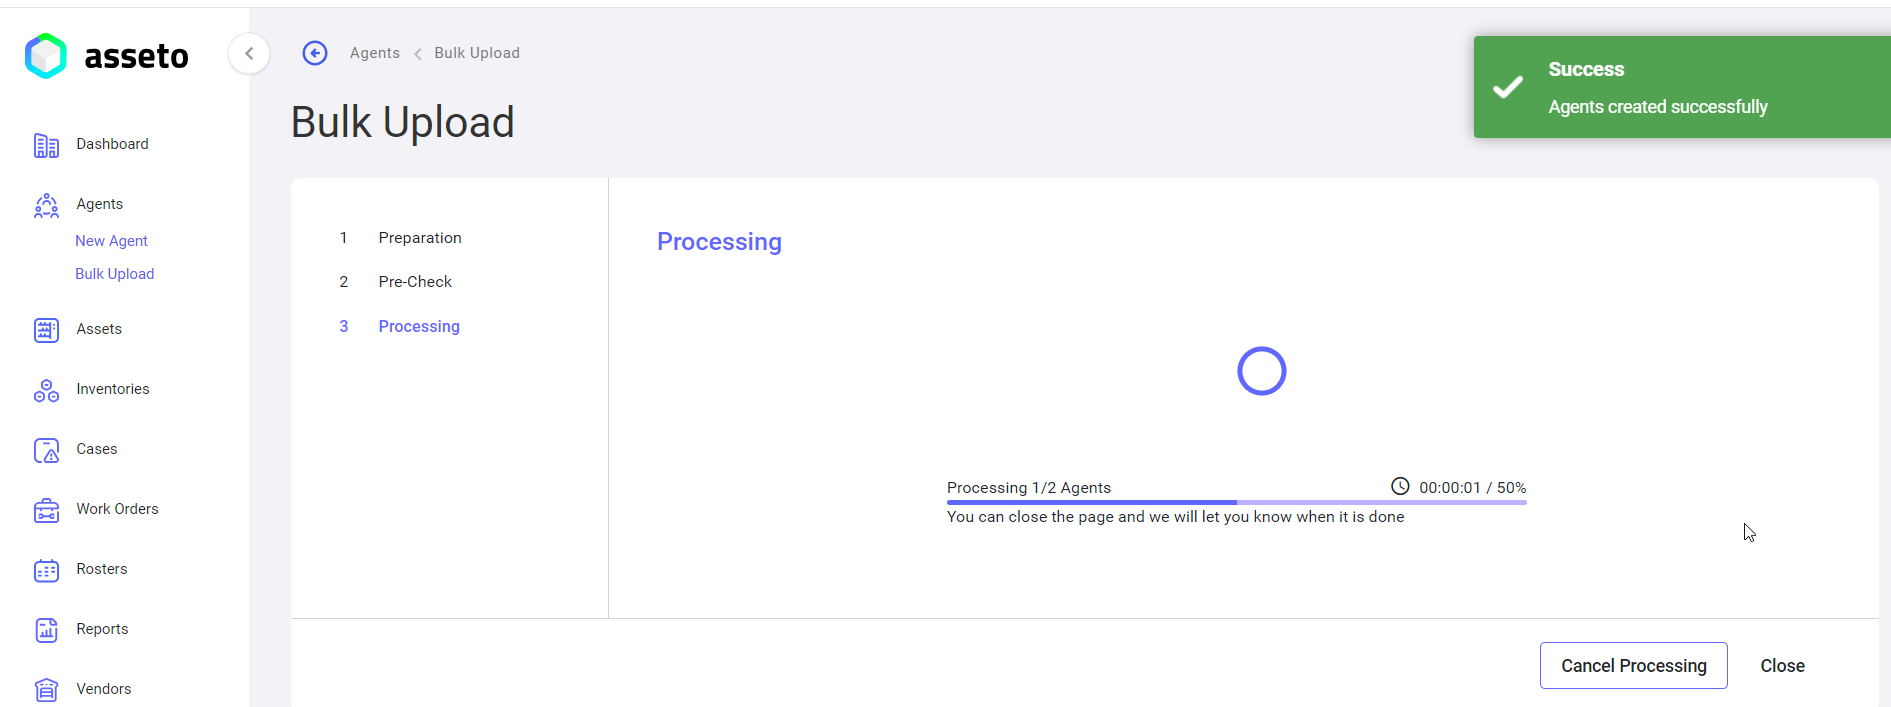
3. Processing: The user can view the progress of the bulk upload. A confirmation message, "Agents created successfully," will be displayed.
Any issues found within the sheet will notified to user. -
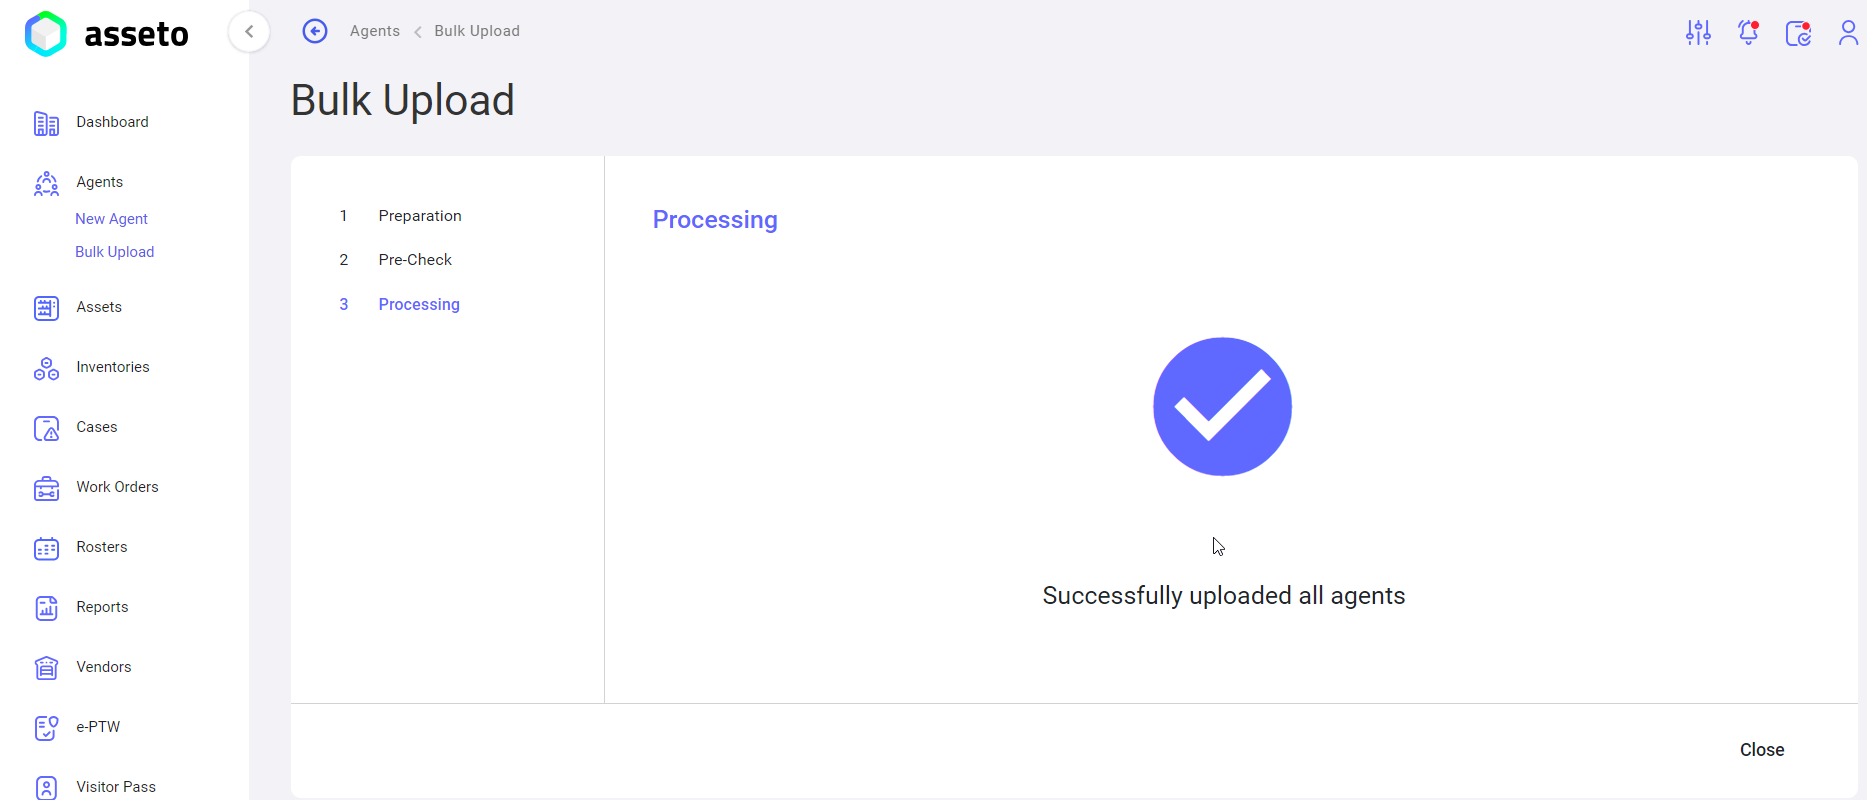
Click on close. added agents through bulk upload will be displayed on the agents list page as shown by following screenshot.
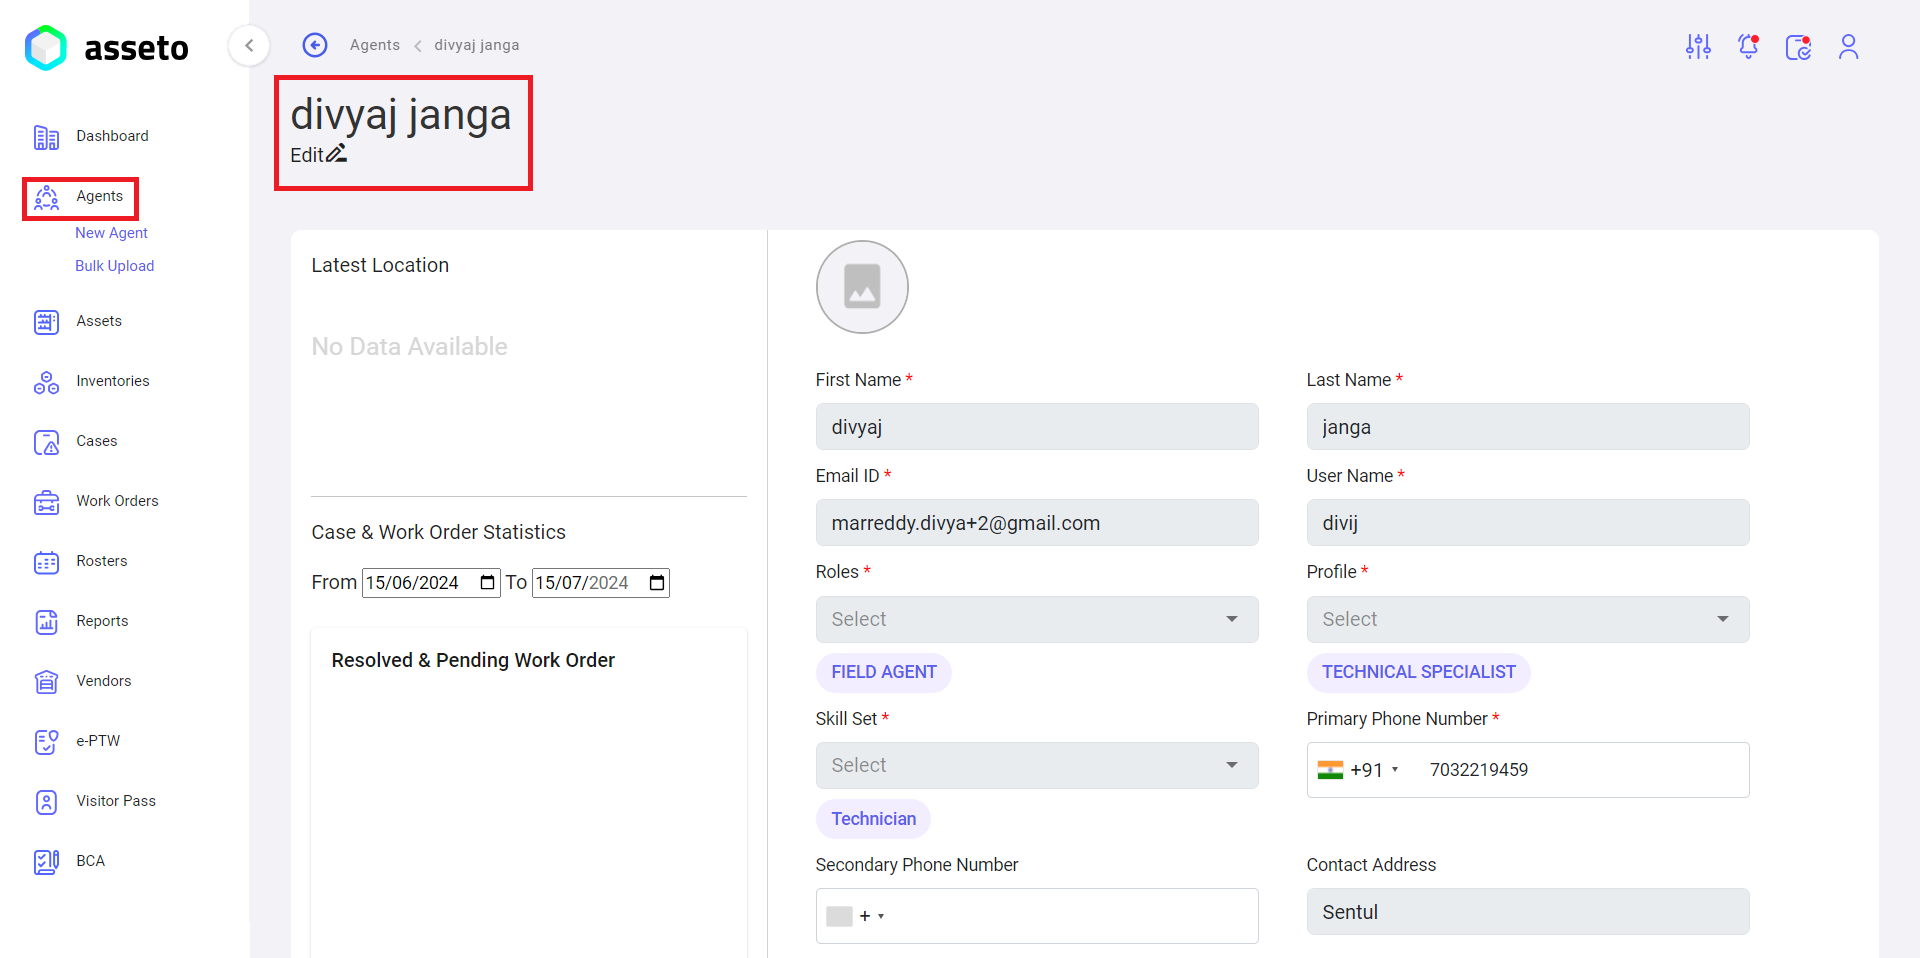
2.7. Agent Detail View
Agent detail view page: The user can view and edit agent details by clicking on the agent from the list.
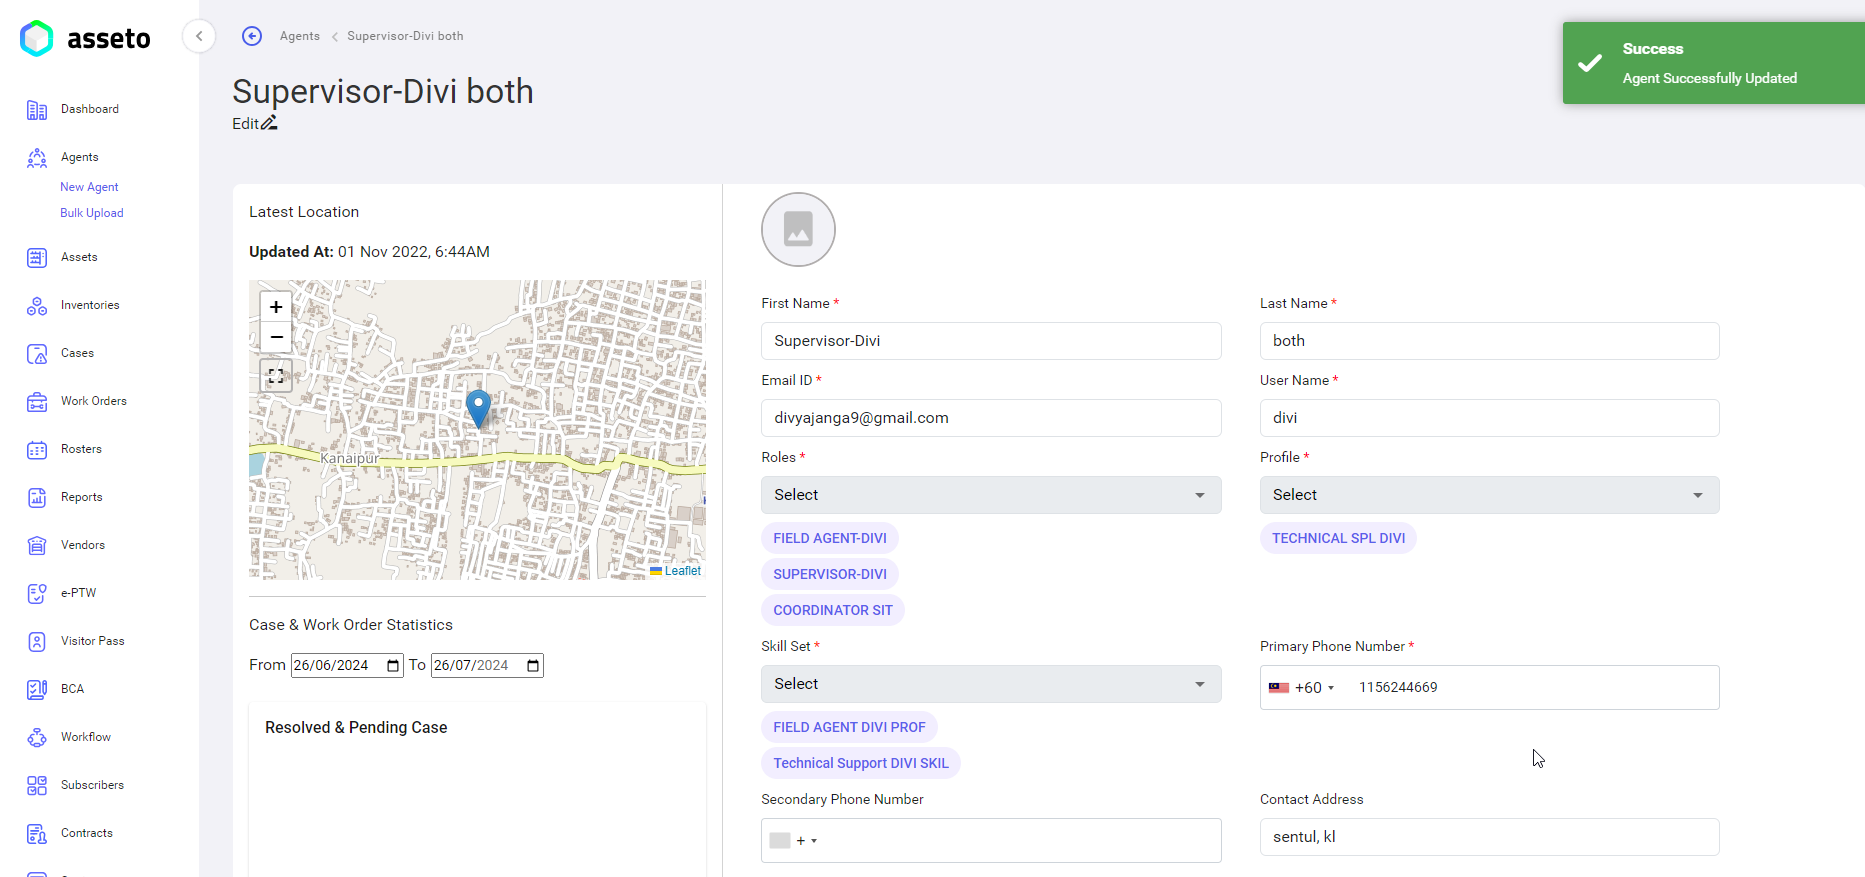
2.8. Agent Edit
Agent Edit: On the agent details view page, the user can edit and update the agent details by clicking on the edit icon located near the agent's name in the top left corner of the page.
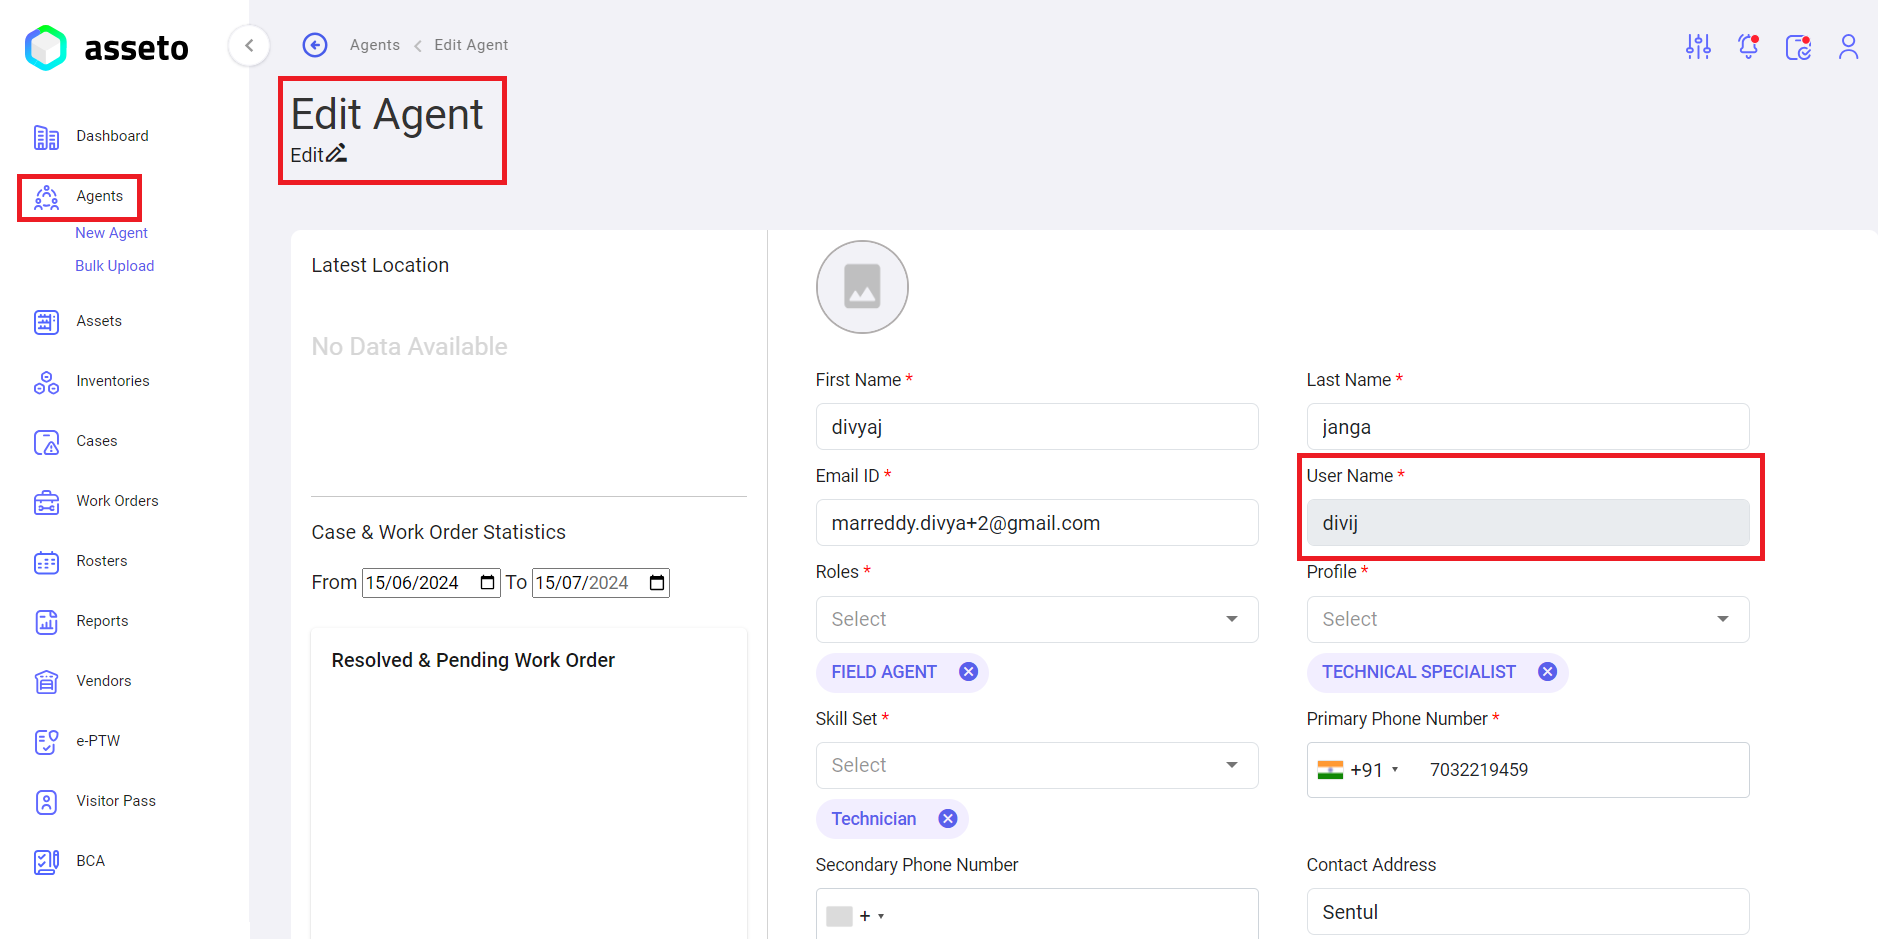
Note: Greyed-out fields are not editable.
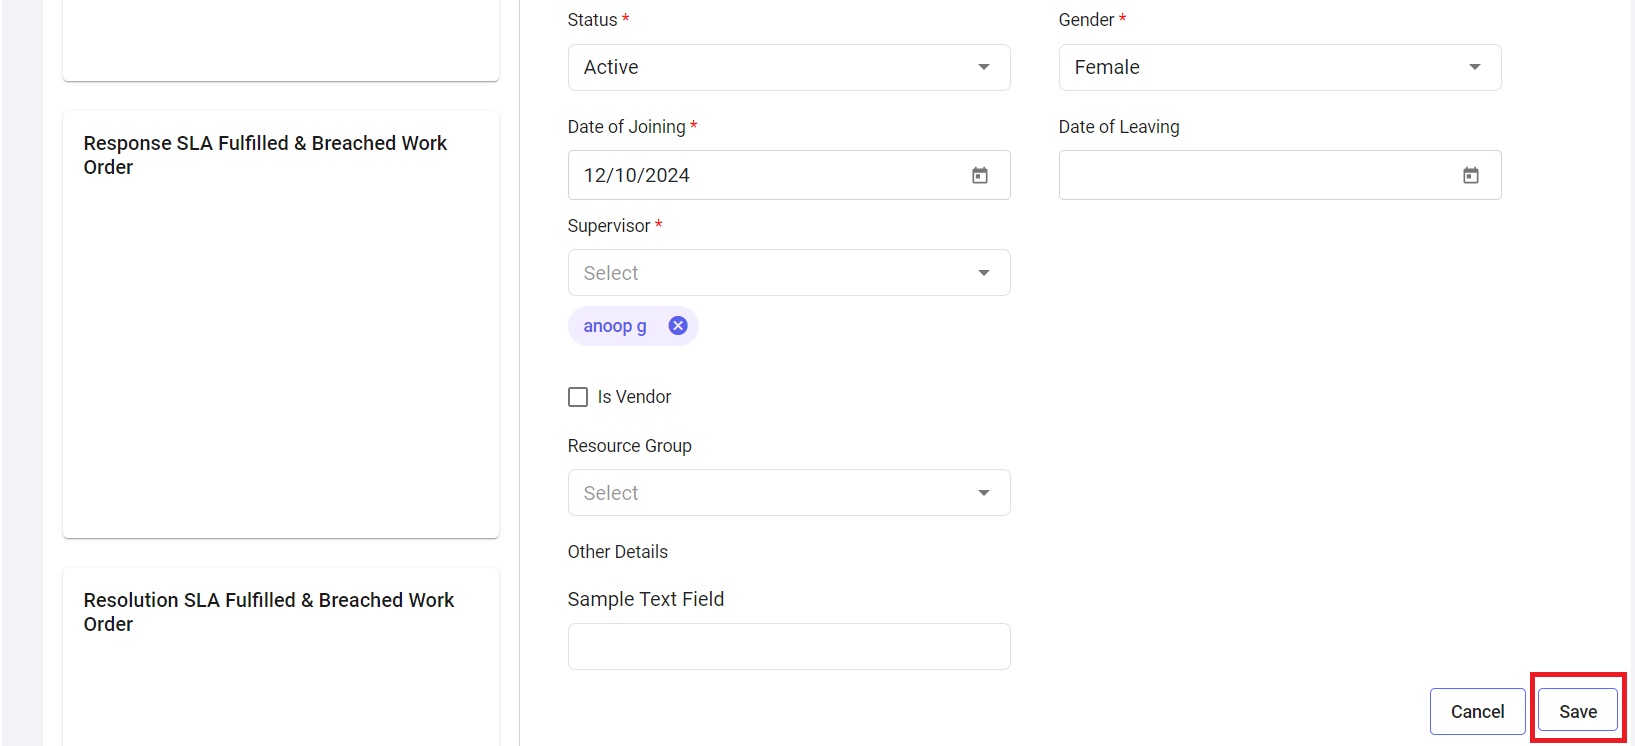
Update the data and click the "Save" button at the bottom of the page. The system will navigate back to the agent's detail view page, and a confirmation message, "Agent successfully updated," will be displayed.